
A hybrid bicycle camera light offers a streamlined solution for night commuters in Singapore, combining high-visibility illumination with continuous video recording in a single handlebar-mounted device. Navigating busy roads, park connector networks (PCNs), and shared paths after dark requires both active visibility to prevent accidents and a reliable record of your journey for security. By integrating these two functions, you eliminate the clutter of multiple mounts, reduce battery management overhead, and ensure you always have a digital witness running whenever your headlight is active. This guide explores the essential technical criteria, mounting considerations, and practical trade-offs to help you choose the right device for your daily commute.
Why Combine Lighting and Recording for Night Commutes
Commuting by bicycle in a bustling urban environment presents unique challenges, especially after sunset. Singapore’s well-connected road network and extensive Park Connector Network (PCN) see a mix of cyclists, pedestrians, and active mobility device users sharing space. In these high-traffic corridors, a hybrid device serves a dual purpose: it projects a clear beam to illuminate immediate hazards like uneven pavement or sudden obstacles, while simultaneously recording high-definition footage of the surrounding traffic. This integration ensures that you do not have to choose between seeing the path ahead and documenting your ride.
From a practical standpoint, mounting separate headlights and action cameras quickly crowds your handlebars. A single integrated unit requires only one mounting bracket, leaving ample space for a bell, phone mount, or cycle computer. This consolidation also simplifies your pre-ride routine, as you only need to charge, mount, and power on one device instead of managing separate charging cables, battery levels, and mounting brackets. For daily commuters, reducing these small friction points makes it far more likely that you will consistently use your safety equipment on every single trip.
Products mentioned in this guide
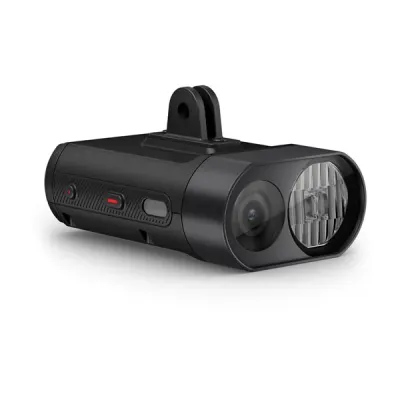
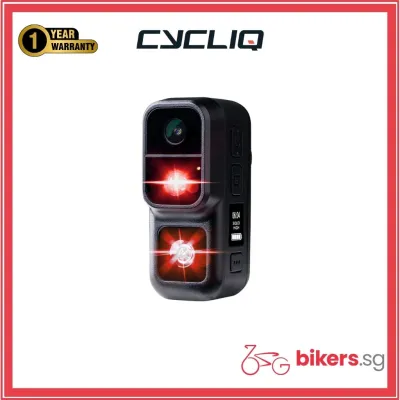
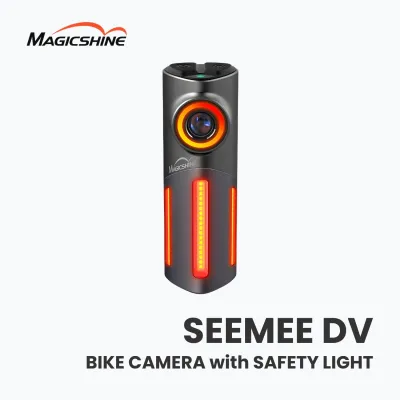
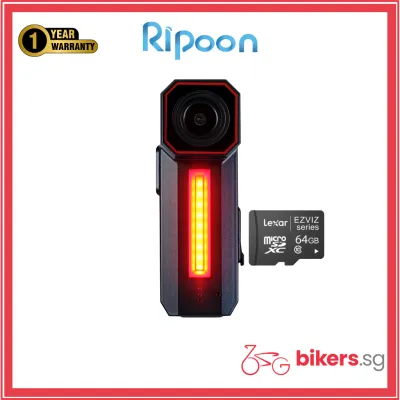
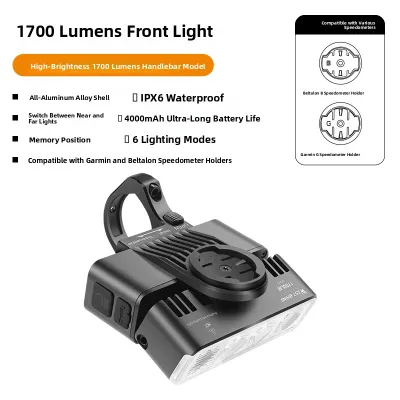
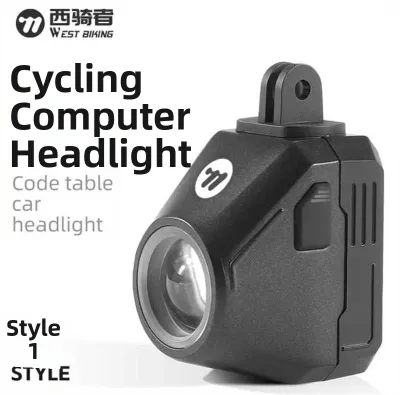
Prices are valid at publication and may change. Please refer to the product page for the latest price.
Furthermore, having a reliable, time-stamped video record is invaluable for insurance claims, incident reporting, or resolving disputes on the road. In low-light conditions, capturing clear footage of license plates, road markings, and traffic signals requires a camera sensor that works in tandem with the light source. Because the camera and light are housed in the same chassis, the camera’s field of view is always aligned with the illuminated area, ensuring that whatever your light points at is captured on camera. This synchronized setup provides peace of mind during late-night commutes along poorly lit industrial roads or busy arterial routes.
Key Selection Criteria for Urban Night Riding
Selecting the right hybrid device requires balancing several technical specifications to match the specific demands of urban night riding. Unlike off-road trail riding, where maximum raw brightness is the primary goal, urban commuting demands a more sophisticated approach to light distribution, camera exposure, thermal management, and physical durability. Evaluating these devices across a standardized set of criteria ensures you select a unit that performs reliably under local conditions without causing issues for other road users.

Illumination vs. Camera Sensor Needs
A common misconception is that a brighter light automatically results in better video quality. In reality, the human eye and a digital camera sensor perceive light very differently, especially in high-contrast urban environments where bright streetlights coexist with deep shadows. A light that is too bright or poorly focused can create a harsh hotspot that overexposes the center of the camera’s frame, washing out crucial details like license plates or road signs. Conversely, a light that is too dim will force the camera sensor to increase its digital gain, resulting in noisy, grainy footage where details are lost in the shadows.
When evaluating a bicycle camera light, look for adjustable brightness levels and customizable beam patterns. A wide, even floodlight pattern is generally preferred for urban commuting, as it illuminates the sides of the path where pedestrians or turning vehicles might emerge, while preventing a blinding hotspot in the center of the camera’s view. Check the manufacturer’s specifications for multiple light modes, such as a low-intensity steady mode for well-lit city streets and a higher-intensity mode for dark park connectors.
To assess low-light video performance, do not rely solely on high megapixel counts or resolution claims like 4K. High-resolution sensors with tiny pixels often struggle in low light compared to lower-resolution sensors with larger physical pixels that can capture more light. It is highly recommended to verify real-world performance by searching for unedited user footage recorded in similar night-time conditions. Look for footage that demonstrates how well the camera handles high-contrast scenes, such as oncoming headlights or reflective road signs, to ensure the sensor can resolve details without blowing out the highlights.
Battery Life and Heat Management
Simultaneously running a high-output LED light and a high-definition video camera places a massive demand on the device’s internal battery. When planning your purchase, compare the manufacturer’s claimed battery runtimes against your actual round-trip commute time, adding a generous safety margin. Keep in mind that running the light at its maximum brightness setting while recording at the highest resolution will drain the battery at its fastest rate. If your daily commute takes an hour each way, look for a device that offers at least three to four hours of continuous combined operation to avoid mid-ride power failures.
Singapore’s tropical climate, characterized by high ambient temperatures and humidity, adds a significant thermal challenge for compact electronic devices. High-power LEDs and video processing chips generate substantial heat, which must be dissipated efficiently to prevent internal damage or automatic thermal shutdown. When reviewing product designs, look for aluminum alloy housings or integrated cooling fins that help conduct heat away from the internal components. Some advanced devices feature automatic thermal throttling, which slightly reduces the light brightness if the internal temperature rises too high, protecting the battery and sensor while maintaining continuous recording.
Additionally, pay close attention to the charging interface and battery configuration. Modern devices typically utilize USB-C ports for faster charging, allowing you to easily top up the battery at your office desk between commutes. Verify whether the battery is permanently sealed inside the housing or if it is user-replaceable. While sealed batteries allow for more compact and water-resistant designs, user-replaceable batteries offer the advantage of long-term sustainability, as you can replace a degraded battery after a few years of daily charge cycles rather than discarding the entire unit.
Mounting, Stability, and Weather Resistance
The physical environment of an urban commute subjects your equipment to constant vibrations, sudden impacts, and unpredictable weather. A bicycle camera light must be mounted securely to ensure stable video footage, maintain a consistent light angle, and withstand the elements. Understanding the strengths and limitations of different mounting systems and environmental ratings is crucial for long-term reliability.
Mounting options generally fall into three categories: handlebar mounts, helmet mounts, and under-stem or out-front computer mounts. Handlebar mounts are the most common and stable, providing a fixed perspective that aligns directly with the direction of your front wheel. Helmet mounts offer the advantage of recording wherever you look, which is useful for capturing side-impact hazards, but they add weight to your head and can result in shaky, disorienting footage. Out-front mounts position the device cleanly in front of your handlebars, often integrating with a cycle computer mount to keep your cockpit exceptionally tidy. Whichever style you choose, ensure the mount features a quick-release mechanism so you can easily remove the expensive device when parking your bike in public areas to prevent theft.
Vibration dampening is another critical factor for both video quality and mechanical longevity. Constant road vibrations from rough asphalt, tactile paving, or expansion joints can cause “jello effect” or motion blur in your recorded video, making it difficult to read license plates. High-quality mounts utilize rubber shims or specialized composite materials to absorb these micro-vibrations. Before purchasing, verify that the mounting bracket clamps tightly to your handlebar diameter without slipping, as a loose mount can cause the light to tilt downward during a ride, reducing your forward visibility and ruining your camera angle.
Weather resistance is non-negotiable for year-round commuting in Singapore, where sudden, heavy tropical downpours are common. You should verify the device’s Ingress Protection (IP) rating to ensure it can handle intense rain. Look for a minimum rating of IPX6, which indicates resistance to high-pressure water jets, or IPX7, which allows for temporary immersion in water. Avoid devices with basic IPX4 ratings, as they are only splash-proof and may fail during a severe thunderstorm. Pay close attention to the charging port cover; it should be made of thick, tight-fitting silicone or rubber that seals completely to prevent moisture from entering the delicate internal electronics.
Building Your Shortlist: Feature Trade-offs
When building your shortlist of potential bicycle camera lights, you will inevitably encounter trade-offs between size, battery capacity, light output, and smart features. Understanding how to prioritize these features based on your specific commuting profile will help you make a practical and cost-effective decision.
For riders whose primary concern is legal protection and evidence gathering, a device with robust loop recording and an integrated G-sensor (impact sensor) is essential. Loop recording automatically overwrites the oldest footage when the memory card is full, ensuring the camera never stops recording mid-ride. A G-sensor detects sudden deceleration or impacts and automatically locks the current video segment, preventing it from being overwritten during loop recording. If your route consists entirely of well-lit city streets, you can prioritize these smart recording features and a compact form factor over extreme light output, as a moderate light setting will be more than sufficient to make you visible to others.
Conversely, if your commute includes unlit park connectors, dark coastal paths, or poorly lit industrial estates, your priority must shift toward maximum path illumination and battery capacity. This requirement typically means choosing a larger, heavier device that can house a high-capacity battery and a powerful LED driver. While these larger units may look less aerodynamic and add more weight to your handlebars, the trade-off is necessary to ensure you can see road hazards clearly at speed while maintaining a long enough runtime for both the light and camera.
| Rider Profile | Primary Priority | Key Features to Look For | Recommended Light Output |
|---|---|---|---|
| Urban Street Commuter | Legal evidence & visibility | Loop recording, G-sensor, compact size, wide flood beam | 200 to 400 lumens |
| Path & PCN Commuter | Path illumination & safety | Long battery life, high-capacity battery, focused spot/flood combo | 400 to 800 lumens |
| Mixed-Route Commuter | Versatility & adaptability | Multiple brightness modes, quick-release mount, USB-C fast charging | 300 to 600 lumens |
Smart features can significantly enhance daily convenience, but they also introduce potential software vulnerabilities. Features like automatic start/stop, which uses built-in accelerometers to turn the device on when you start riding and off when you park, can save battery life but may fail to trigger if the sensor calibration is off. Similarly, Wi-Fi connectivity allows you to transfer footage directly to your smartphone, but a poorly designed companion app can make the process slow and frustrating. When evaluating these smart features, check user forums and app store reviews to verify the stability and ease of use of the manufacturer’s software.
Finally, consider the purchasing channel and local support availability. While buying from general online marketplaces can sometimes offer lower upfront prices, purchasing through specialized local cycling retailers often provides significant advantages in terms of warranty support and replacement parts. If a mounting bracket breaks or a charging port cover tears, a local retailer is far more likely to stock spare parts or facilitate a quick warranty replacement, minimizing the time you have to commute without your safety device. Always verify the warranty terms, ensuring that water damage from rain is covered under the standard warranty period.
Setup, Maintenance, and Safety Checks
Once you have selected and purchased your bicycle camera light, proper setup and regular maintenance are essential to ensure the device performs reliably and safely on every commute. Establishing a simple pre-ride routine and maintenance schedule will extend the lifespan of your equipment and guarantee that you always have clear footage when you need it most.
Before every ride, perform a quick three-point check: battery, storage, and lens. First, verify that the battery has sufficient charge for your planned route, keeping in mind that cold offices or hot storage areas can slightly affect battery capacity. Second, check that your memory card has enough free space or that the loop recording feature is active; formatting the card monthly in the device itself helps prevent file corruption. Third, inspect the camera lens and light cover for smudges, dust, or water spots. A dirty lens will severely degrade video quality, causing oncoming lights to flare and obscure details, while a dirty light cover reduces overall light output. Keep a microfiber cloth handy to quickly wipe down the optical surfaces before you set off.
Proper alignment of the light beam is critical for both your safety and the comfort of other road users. Position the mount so that the brightest part of the beam is aimed downward at the road surface, approximately 10 to 15 meters ahead of your front wheel. This angle provides adequate reaction time for obstacles while preventing the beam from shining directly into the eyes of oncoming cyclists, pedestrians, or drivers. Blinding others is not only dangerous but can also cause the camera sensor to struggle with extreme contrast, reducing the quality of your recorded footage. If your device has a cut-off beam design, ensure it is mounted horizontally to maximize its effectiveness.
Regular maintenance should include inspecting the mounting bracket and hardware for tightness. Road vibrations can gradually loosen mounting screws, which can lead to shaky video or, worse, the device falling off mid-ride. Check the integrity of the silicone weather seals and charging port covers, ensuring they are free of cracks and seal tightly against the housing. If you ride through heavy rain, dry the device thoroughly with a towel before opening any port covers to charge it. Periodically check for firmware updates from the manufacturer, as these updates often resolve software bugs, improve battery efficiency, and optimize camera sensor performance in low-light conditions.
Frequently Asked Questions (FAQ)
Can I use a standard action camera with a separate bike light instead?
Yes, you can use a separate action camera and a dedicated bicycle light, which offers the advantage of modularity. This setup allows you to choose the most suitable camera and light independently, and if one device fails, you only need to replace that specific unit. However, this approach requires managing two separate batteries, mounting brackets, and charging cables, which significantly increases handlebar clutter and setup time before each ride. For daily commuting, where simplicity and convenience are paramount, an integrated hybrid device is generally more practical.
Do I need to register my bicycle camera light in Singapore?
No, there is no requirement to register a bicycle camera light with the Land Transport Authority (LTA) or any other regulatory body in Singapore. However, your device must comply with the active mobility rules regarding bicycle lighting. Specifically, when riding on public roads or paths during hours of darkness, your bicycle must be equipped with a functioning front light that projects a white beam and a rear light that projects a red beam. Additionally, while recording in public spaces is generally permitted for personal safety and evidence gathering, you should remain mindful of privacy considerations and avoid sharing footage of individuals in non-public settings without consent.

Community discussion
Share your experience or ask a question. Comments are reviewed before publication.