
Selecting the right bicycle headlight for Singapore’s Park Connector Network (PCN) requires balancing your need to see the path ahead with the safety and comfort of other path users. Because the PCN is a shared space utilized by cyclists, runners, and pedestrians, a headlight must provide sufficient illumination to spot sudden obstacles without casting a blinding glare into the eyes of oncoming traffic. For most PCN routes, a versatile headlight that offers adjustable brightness levels and a controlled beam pattern is the most practical choice.
To make an informed decision, you must evaluate the specific lighting conditions of your regular routes, understand how different beam shapes distribute light, and verify that the hardware can withstand local weather conditions. This guide breaks down the essential factors to consider so you can ride safely and courteously during dawn, dusk, or night hours.
Understanding Park Connector Lighting and Shared Path Etiquette
Singapore’s Park Connector Network spans hundreds of kilometers, offering a diverse range of riding environments. Some sections, particularly those running through central parks or adjacent to housing estates, are brightly illuminated by overhead streetlights and ambient urban glare. On these well-lit paths, your primary safety concern is not necessarily illuminating the ground, but rather ensuring that pedestrians and other cyclists can see you from a distance.
Products mentioned in this guide
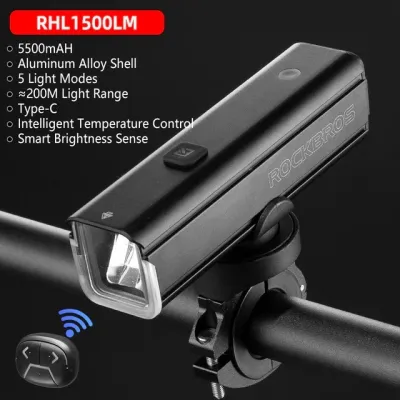
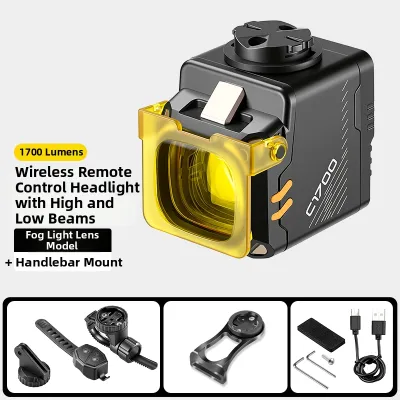
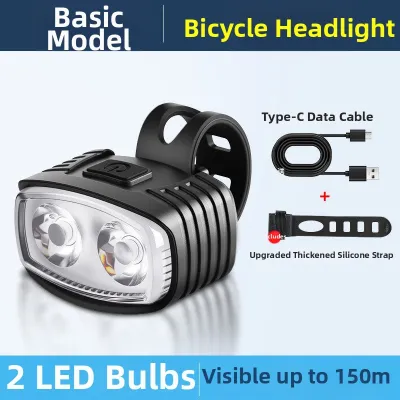
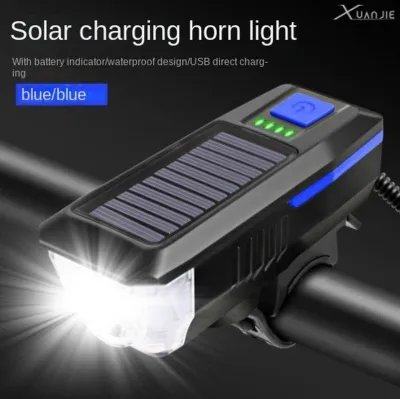
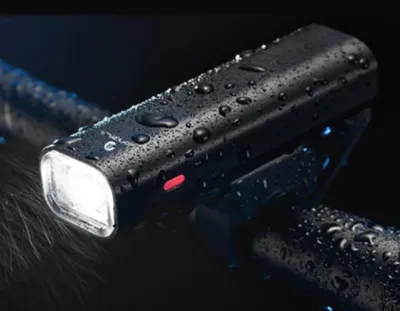
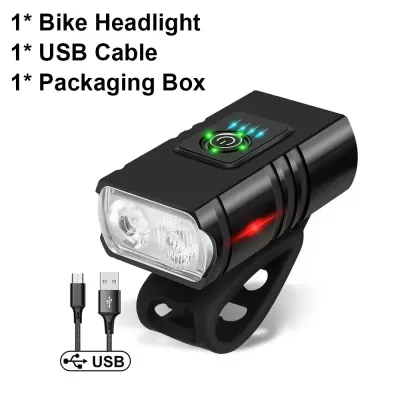
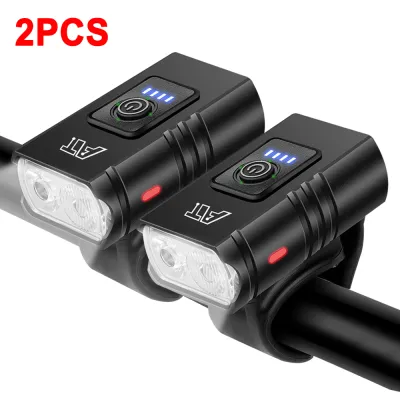
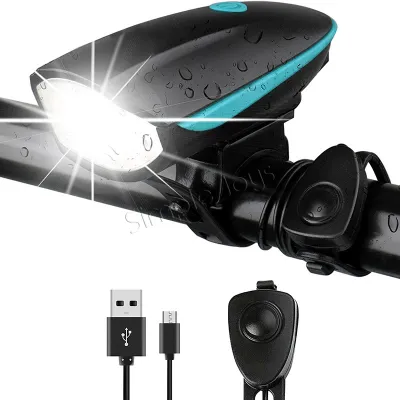
Prices are valid at publication and may change. Please refer to the product page for the latest price.
Conversely, other stretches of the PCN—such as those bordering nature reserves, canals, or coastal areas—can become exceptionally dark after sunset. These unlit or dimly lit paths require a headlight that actively illuminates the pavement to reveal hazards like fallen branches, wet leaves, ponding water, or sudden bends in the path. Without adequate forward illumination, riding through these darker zones at typical commuting speeds can be hazardous.
Because the PCN is a shared infrastructure, path etiquette is a critical component of safety. High-powered bicycle lights pointed directly forward can temporarily blind oncoming path users, including joggers and other cyclists. This glare can cause oncoming users to lose their orientation or fail to see obstacles in their own path. Therefore, the goal when choosing and positioning a headlight is to illuminate the ground directly in front of your bicycle while minimizing upward light spill.
Matching Brightness Levels to Your Riding Environment
When shopping for a bicycle headlight, brightness is measured in lumens, which represent the total amount of visible light emitted by the source. To select the appropriate lumen output, you should assess the ambient light levels of your typical riding times and locations. A light with multiple brightness settings is highly recommended, as it allows you to adjust the output on the fly as you transition between different sections of the PCN.

For well-lit urban corridors, a lower setting of 100 to 200 lumens is generally sufficient. This level of brightness makes your bicycle visible to others without consuming excessive battery power or creating unnecessary glare. When transitioning to unlit or poorly lit sections of the network, you will likely need to increase the output to a range of 400 to 800 lumens. This higher output provides enough illumination to spot low-contrast obstacles on the pavement from a safe distance.
Your riding speed directly influences how much brightness you require. Higher speeds increase your stopping distance, meaning you must be able to see further ahead to react to hazards in time. If you typically cruise at a leisurely pace, a lower lumen output is acceptable because your stopping distance is short. If you maintain a faster pace, a brighter light is necessary to project a usable beam further down the path.
It is also important to distinguish between a manufacturer’s peak brightness rating and its sustained output. Many headlights can achieve high lumen ratings for short bursts, but they will automatically reduce their brightness after a few minutes to prevent overheating. When evaluating product specifications, look for details on how long the light can maintain its medium and high settings under normal operating conditions.
Choosing the Right Beam Pattern for Shared Paths
Beam pattern refers to how the light is shaped and distributed across the path. A standard flashlight typically produces a focused spot beam, which projects a narrow, intense cone of light over a long distance. While useful for high-speed road cycling where you need to see far ahead, a pure spot beam can create tunnel vision on winding PCN paths and does not provide enough peripheral illumination to spot pedestrians stepping onto the path from the sides.
In contrast, a wide flood beam spreads light evenly across a broader area, enhancing your peripheral awareness and making it easier to navigate tight corners and spot close-range obstacles. However, a simple flood beam can scatter light upward into the eyes of oncoming path users. To address this, many modern bicycle headlights feature shaped or cut-off beam patterns, often designed to comply with strict European road safety standards.
These cut-off beams utilize specialized lenses or reflectors to direct light downward onto the ground, creating a flat horizontal boundary at the top of the beam. This design ensures that the brightest portion of the light is concentrated on the pavement where you need it, while preventing light from shining upward into the eyes of oncoming pedestrians and cyclists. Opting for a headlight with a shaped beam pattern is one of the most effective ways to maintain high visibility while respecting other path users.
When riding on winding, narrow, or heavily shaded sections of the PCN, a balanced beam that combines a moderate spot with a wide flood is highly beneficial. This combination allows you to see upcoming turns while keeping the immediate edges of the path illuminated, helping you spot sudden movements from the sides.
Essential Hardware and Mounting Checks for Your Ride
Once you have determined your brightness and beam pattern requirements, you must evaluate the physical design and mounting hardware of the headlight. A high-quality light is only effective if it remains securely attached to your bicycle and functions reliably throughout your ride. Ensure the mounting bracket is compatible with your handlebar diameter and shape, whether you use standard round bars or integrated aero bars.
The mount must be robust enough to withstand regular vibrations from expansion joints, tactile paving, and occasional rough surfaces on the PCN. A loose or flimsy mount can cause the headlight to bounce or slip, shifting the beam angle upward into the eyes of others or downward to the point where it no longer illuminates the path ahead. Tool-free quick-release mounts are highly convenient, allowing you to easily remove the light when parking your bicycle in public areas.
Battery management is another critical consideration. Look for headlights with clear battery life indicators, such as multi-colored LEDs or digital displays, so you are not caught off guard by a sudden loss of light. USB charging is standard for most modern lights, allowing you to easily recharge the device at home or at the office. Consider your typical ride duration and ensure the battery life on your preferred brightness setting exceeds your planned riding time by a safe margin.
Singapore’s tropical climate brings sudden, heavy downpours and high humidity, making weather resistance a vital specification. Check the product label for an Ingress Protection (IP) rating. A rating of IPX4 indicates resistance to splashing water from any direction, which is suitable for light drizzle. For reliable performance during heavy tropical rain, look for a rating of IPX6 (protection against powerful water jets) or IPX7 (protection against temporary immersion).
Finally, verify the available lighting modes. A steady mode is essential for night riding on shared paths, as flashing modes can be highly disorienting to oncoming path users and make it difficult for them to judge your distance and speed. Flashing modes are best reserved for daytime riding on open roads to increase your visibility to motorists.
Frequently Asked Questions (FAQ)
Do I need a front light if the path section has street lamps?
Yes, a front light is necessary even on well-lit sections of the PCN. Under local active mobility guidelines in Singapore, cyclists are required to use a front white light during hours of darkness. Practically, a front light serves a dual purpose: it makes you instantly visible to pedestrians who may be walking with their backs to you, and it helps you identify unexpected hazards, such as wet patches or debris, that may be obscured by shadows cast by overhead streetlights.
How should I angle my headlight to avoid blinding others?
To avoid blinding oncoming path users, you should mount your headlight and angle it slightly downward so that the brightest part of the beam hits the ground approximately 3 to 5 meters in front of your bicycle. You can test this by standing your bicycle against a wall; the top edge of the light beam should sit well below the handlebar height. If your light has a symmetrical beam, angling it downward is especially important to keep the upper portion of the light spill out of the eyes of pedestrians.
What is the difference between measured lumens and claimed lumens?
Claimed lumens are often theoretical maximum values calculated by the LED manufacturer under ideal laboratory conditions, whereas measured lumens represent the actual light output of the fully assembled headlight in real-world use. Additionally, many headlights feature thermal management systems that automatically lower the brightness (thermal throttling) as the unit heats up during a ride. This means a light may start at its maximum claimed brightness but settle into a lower, sustained output to prevent damage to the internal components.

Community discussion
Share your experience or ask a question. Comments are reviewed before publication.