
Choosing the right bicycle saddle bag size is a balancing act between carrying what you need and keeping your ride streamlined. The ideal capacity depends entirely on your route, the distance you plan to cover, and how self-sufficient you need to be. For casual rides along Singapore’s Park Connector Network (PCN), a compact bag is often all you need to carry basic flat-repair tools. Conversely, embarking on long-distance endurance trips or round-island loops requires a larger bag to accommodate extra tubes, comprehensive tools, and weather-protection gear.
Selecting the wrong size can lead to unnecessary weight, annoying bag sway, or leaving essential tools behind. By matching your bag’s volume to your actual cargo requirements, you can ensure a comfortable, worry-free ride. This guide breaks down how to evaluate your needs for different cycling scenarios and how to verify that your chosen bag fits your bicycle safely.
Assess Your Cargo Needs Before Choosing a Size
Before comparing different bicycle saddle bag models, build a physical inventory of the items you must carry. Laying everything out on a flat surface allows you to visualize the total volume and weight of your gear. This step prevents the common mistake of purchasing a bag that is either too small to zip shut or so large that your tools rattle around constantly.
Products mentioned in this guide
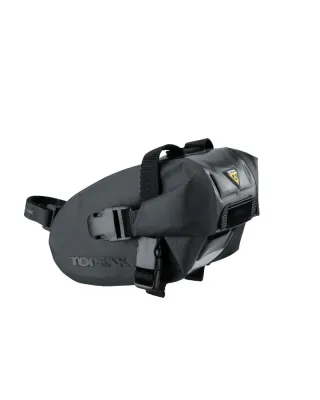
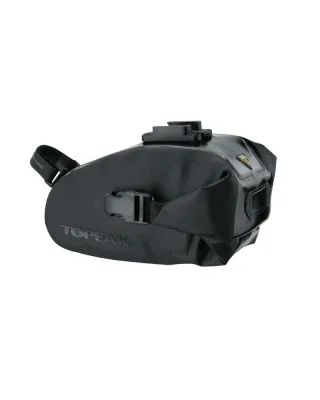
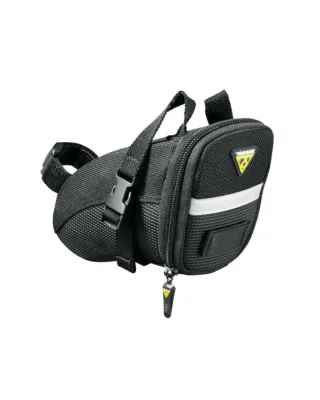
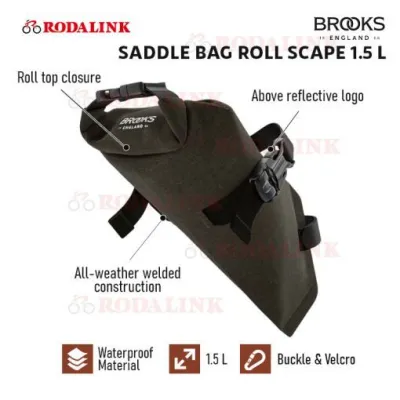
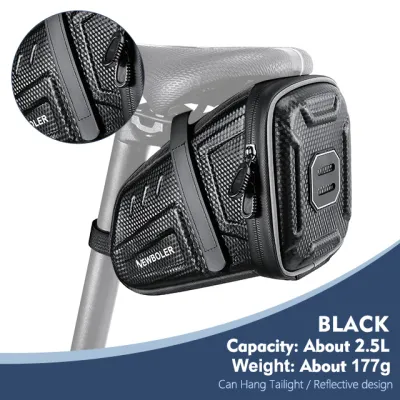
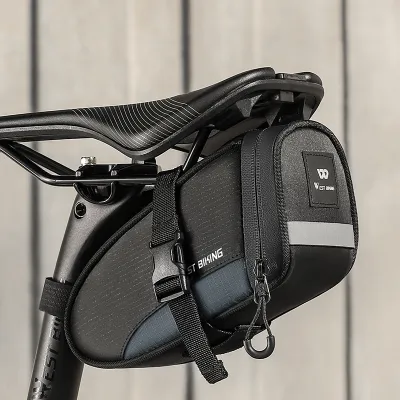
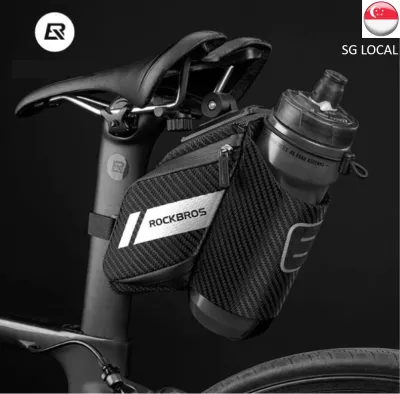
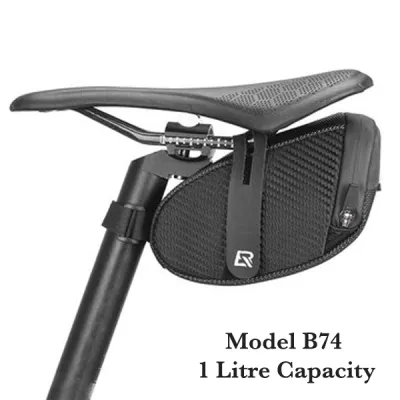
Prices are valid at publication and may change. Please refer to the product page for the latest price.
Your cargo needs generally fall into two categories: “get-home” essentials for urban routes and “self-rescue” gear for longer, more remote rides. On short urban rides, you are rarely far from help, public transport, or a local bicycle shop. Your kit can remain minimal, focusing only on the bare essentials to fix a single flat tire. On longer trips, however, you must prepare to be entirely self-sufficient, carrying tools to handle multiple punctures, chain failures, or minor mechanical adjustments.
The physical dimensions of your repair items dictate the minimum bag volume you require. For example, a spare inner tube is the largest single item in a standard repair kit. A road bike tube (such as a 700x25c) folds up into a very compact package, whereas a wider hybrid, gravel, or mountain bike tube requires significantly more physical space. Additionally, you must factor in the size of your multi-tool, tire levers, and inflation system, whether you prefer a compact CO2 inflator or a longer hand pump.
Do not forget to account for personal items and route-specific variables. If you prefer to keep your jersey pockets empty, your saddle bag must also accommodate your keys, cash, cards, and mobile phone. Furthermore, riding in tropical climates means preparing for sudden weather changes or needing extra nutrition, both of which require additional carrying capacity.
Sizing for Short PCN Rides and Casual Commutes
Short rides along the PCN or casual weekend commutes are typically relaxed, predictable, and close to amenities. For these outings, a micro (under 0.4 liters) or small (0.4 to 0.6 liters) bicycle saddle bag is the most practical choice. These compact bags are designed to hold just the essentials while keeping your bicycle looking clean and streamlined.

The typical cargo for a short PCN ride is minimal. Your kit should consist of one spare inner tube matched to your tire size, two compact plastic tire levers, a small multi-tool with basic hex keys, and a patch kit. This setup is lightweight and fits easily into a small under-seat wedge bag, ensuring you can quickly resolve a flat tire and continue your ride without carrying excess bulk.
Opting for a micro or small saddle bag offers several distinct advantages. Because these bags tuck tightly under the saddle rails, they maintain the clean aesthetics of your bicycle. They also keep the overall weight low and minimize the risk of the bag swaying side-to-side when you stand up to pedal or climb short hills. A smaller bag also forces you to be disciplined about what you pack, preventing you from carrying unnecessary items that add dead weight.
However, using a very small saddle bag requires some trade-offs regarding personal items. Because the bag’s volume is fully occupied by tools, you must rely on other storage solutions for your phone, keys, and wallet. Many riders choose to carry these items in their jersey pockets, use a top tube bag, or mount their phone directly to the handlebars. If you prefer to ride in casual clothing without rear pockets, you may need to step up to a slightly larger saddle bag or use a small backpack.
Sizing for Long Cycling Trips and Endurance Rides
When you transition to long-distance endurance rides, such as a full round-island loop or multi-hour training sessions, your self-support requirements increase dramatically. For these journeys, a medium (0.7 to 1.1 liters) or large (1.2 to 2.0+ liters) saddle bag becomes essential to carry the expanded gear list necessary for long-distance safety.
Your expanded gear list must prepare you for multiple mechanical scenarios far from immediate assistance. You should carry at least two spare inner tubes, a comprehensive patch kit, a tire boot for sidewall tears, a chain tool with matching quick-links, and a robust multi-tool that includes a spoke wrench. This comprehensive kit ensures that a minor mechanical failure does not leave you stranded miles away from the nearest transport link.
Longer rides also expose you to changing weather conditions and physical fatigue. In tropical climates, a sudden afternoon downpour is common, making a lightweight, packable rain jacket or windbreaker a valuable addition to your gear. A larger saddle bag, particularly one with a roll-top closure, provides the extra volume needed to pack these bulky clothing items alongside your tools. It also offers space for extra nutrition, such as energy bars, salt tablets, and hydration powders, which are vital for maintaining your energy levels over several hours of riding.
With increased capacity comes the challenge of internal organization. Loose tools can rattle against each other, causing annoying noise and potentially damaging delicate items. Sharp metal tools can easily puncture a spare inner tube or tear a lightweight rain jacket if packed together loosely. To prevent this, look for saddle bags with internal mesh pockets or elastic straps to keep items secure. Alternatively, you can wrap your multi-tool in a small rag or place your spare tubes inside protective socks to ensure they remain undamaged and ready for use.
Cross-Scenario Compatibility: Can One Bag Do Both?
Many cyclists wonder if they can purchase a single bicycle saddle bag that efficiently serves both short PCN commutes and long-distance endurance rides. While it is possible to use one bag for all scenarios, doing so requires understanding the design trade-offs and choosing the right type of bag.
Roll-top and expandable saddle bags are designed specifically for cross-scenario compatibility. These bags feature zippered expansion panels or roll-down closures secured by adjustable straps. For short weekday rides, you can compress the bag to its minimum volume, keeping it compact and tucked out of the way. For longer weekend trips, you can unroll or unzip the bag to double its carrying capacity, allowing you to pack extra tubes, tools, and clothing.
However, using a single large bag for all rides has its drawbacks. If you ride with a large, partially empty bag on a short commute, the lack of internal structure can cause the contents to rattle and the bag to sway excessively. It also adds unnecessary bulk and wind resistance to your bicycle. Conversely, relying solely on a small bag for long trips forces you to overload your jersey pockets, which can cause your jersey to sag uncomfortably, trap heat against your back, and increase the risk of items falling out.
To decide between a single versatile bag and a dedicated two-bag setup, consider your riding frequency. If ninety percent of your rides are short PCN commutes with only occasional long trips, a single expandable bag is highly practical and cost-effective. However, if you regularly split your time between short weekday fitness rides and long weekend endurance loops, investing in two dedicated bags—a micro bag for weekdays and a large bag for weekends—offers the best performance, convenience, and bike handling.
Verify Fit, Clearance, and Safety Before You Ride
Before heading out on any ride, you must verify that your chosen bicycle saddle bag fits your bike frame and components safely. A poorly fitted bag can cause mechanical issues, damage your equipment, or create safety hazards.
Start by measuring your seatpost exposure and the clearance between your saddle rails and the rear tire. This is particularly critical for riders on smaller bike frames, compact geometries, or full-suspension mountain bikes. If the bag is too tall or hangs too low, it can rub against the rear tire when the suspension compresses or when you ride over bumps, quickly wearing a hole through the fabric and potentially causing a sudden stop.
Oversized saddle bags can also interfere with essential safety accessories. A large bag may block your rear reflector or the mounting point for your rear safety light, reducing your visibility to other path users and motorists during early morning or night rides. Ensure your bag has a dedicated light attachment loop or that you can mount your light elsewhere on the frame.
If your bicycle is equipped with a dropper seatpost, you must use a compatible saddle bag. Standard seatpost straps can scratch the dropper post’s stanchion or prevent it from retracting properly. Look for bags that attach solely to the saddle rails or use specialized dropper-compatible adapters.
Perform a quick pre-ride check before every departure. Ensure all mounting straps are routed correctly through the saddle rails and wrapped tightly around the seatpost. Give the bag a firm shake to check for stability; a loose bag will sway while pedaling, which is not only distracting but can also upset your balance on tight PCN turns.
Frequently Asked Questions (FAQ)
Do I need a waterproof saddle bag for cycling in Singapore?
Given Singapore’s frequent and sudden tropical downpours, protecting your gear from water is a major consideration. While a fully waterproof saddle bag with welded seams and roll-top closures offers the best protection, it is often more expensive and stiffer to pack. Water-resistant bags can handle light drizzle or road spray, but water will eventually seep through the stitched seams and zippers during a heavy storm. This can rust your multi-tool and ruin electronic car keys or paper cash. A highly effective and budget-friendly alternative is to use a standard water-resistant saddle bag and pack your sensitive items inside small zip-lock bags or lightweight dry bags first. This double-layer approach keeps your electronics and tools dry without requiring an expensive waterproof bag.
How do I stop my saddle bag from swaying while riding?
Saddle bag sway is usually caused by improper packing or loose mounting straps. To eliminate movement, always pack your heaviest and densest items, such as a metal multi-tool or chain tool, first. Place them as close to the seatpost and as high up under the saddle rails as possible. Pack lighter, bulkier items like spare inner tubes or a windbreaker toward the rear of the bag. This distribution keeps the center of gravity close to the bike’s pivot point, reducing leverage and sway. When mounting the bag, thread the rail straps carefully and pull them as tight as possible before securing the hook-and-loop fasteners or buckles. Finally, tighten the seatpost strap firmly. If your bag still sways, consider using a saddle bag stabilizer bracket, which mounts directly to the saddle rails and physically clamps the sides of the bag.
Community discussion
Share your experience or ask a question. Comments are reviewed before publication.