
A fishing sinker is a fundamental component of most angling setups, designed to add weight to your line. Its primary functions include sinking your bait to the target depth, increasing casting distance, and keeping your presentation anchored in moving water. For beginners, selecting the correct sinker involves balancing water conditions, target species, and rod capabilities. This guide breaks down the core functions of sinkers, how to evaluate weight and shape options, and the practical steps to attach and test your rig for a successful fishing trip.
What Is a Fishing Sinker and Why Do You Need One?
At its core, a fishing sinker is a tool designed to counteract the natural buoyancy of your bait, hook, and line. Without this added weight, water resistance and the buoyancy of organic materials or soft plastics would keep your presentation suspended near the surface, far from bottom-dwelling fish.
Beyond simply sinking your line, a sinker provides the necessary mass to improve casting aerodynamics. When you cast, the weight of the sinker pulls the line off your reel, allowing you to reach greater distances and target specific areas like deep channels or offshore structures.
Products mentioned in this guide
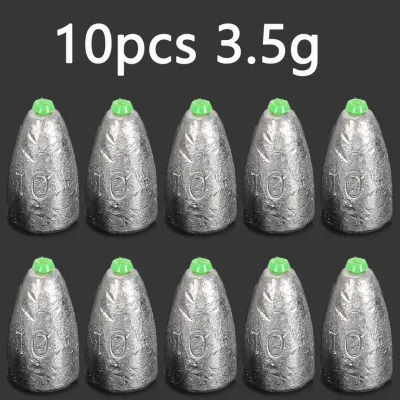
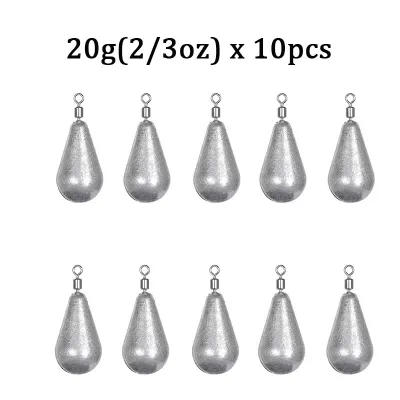
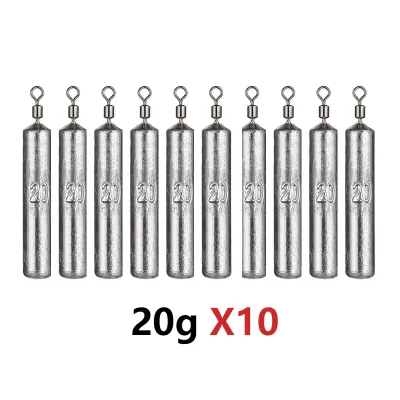
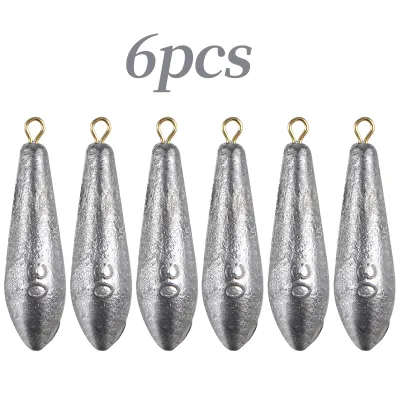
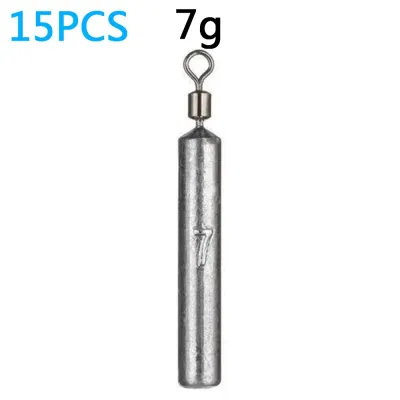
Prices are valid at publication and may change. Please refer to the product page for the latest price.
Once your bait reaches the water, environmental forces like wind, surface currents, and tidal movements begin to push against your line. A properly selected sinker acts as an anchor, holding your bait in a specific location so it remains visible to target species rather than drifting aimlessly into snags.
Ultimately, sinkers are precision tools for presentation control rather than mere dead weight. By adjusting the type and placement of your weight, you can dictate whether your bait flutters naturally down through the water column or sits firmly on the seabed to attract bottom feeders.
How to Choose the Right Sinker Weight
Selecting the correct weight requires a careful assessment of your immediate fishing environment, specifically water depth and current speed. Deeper waters and faster-moving currents exert more drag on your line, requiring heavier weights to maintain bottom contact.

A fundamental rule for beginners is the “minimum effective weight” principle. This approach dictates that you should start with the lightest possible weight that allows your bait to reach the target depth and hold its position. Using too much weight can dull the feel of a fish biting and make your presentation look unnatural.
You must also balance the weight of your sinker with the breaking strain of your fishing line. Attempting to cast a heavy sinker on a light, low-poundage line can cause the line to snap under the sudden tension of the cast, sending your rig flying across the water.
Water clarity and fish behavior also influence your weight choice. In clear water or when targeting easily spooked fish, a lighter weight allows for a slower, more natural fall that mimics drifting food. Conversely, in muddy water or high-energy surf zones, a heavier, fixed setup is often necessary to keep the bait stationary long enough for fish to locate it.
Additionally, consider your own physical comfort and casting ability. Heavy weights require more physical effort to cast and can fatigue a beginner quickly. Match the weight to your casting style and the specific venue, ensuring you do not exceed what you can comfortably and safely control.
Common Sinker Shapes and Their Best Uses
The shape of a sinker determines how it interacts with the underwater terrain and how easily it moves through obstacles. Choosing the wrong shape can lead to frequent snags, lost gear, and frustration, especially for beginners learning to read the water.
Split shot and pinch-on sinkers are small, round weights with a groove that allows you to crimp them directly onto your line. These are ideal for light, highly adjustable setups in calm waters, allowing you to quickly add or remove weight when using small baits for species near the surface or mid-water.
Egg and bullet sinkers feature a central hole that allows your fishing line to slide freely through them. Egg sinkers are commonly used on sliding rigs to let fish take the bait without feeling the immediate resistance of the weight, while the streamlined cone shape of bullet sinkers is designed to slip through thick weeds and rocks without snagging.
Pyramid and bank sinkers are engineered for high-energy environments. Pyramid sinkers have a pointed shape that digs into sandy or muddy bottoms, making them excellent for surf fishing or strong tidal currents, while rounded bank sinkers resist rolling along the bottom and are suited for rocky riverbeds.
To help you select the right shape for your first outing, consider this basic environmental matching guide:
- Calm Lakes and Ponds: Use split shot or light egg sinkers to maintain a delicate, natural presentation in still water.
- Flowing Rivers and Streams: Opt for bank sinkers or split shots distributed along the line to navigate currents and rocky bottoms.
- Coastal Surf and Tidal Zones: Select pyramid sinkers to anchor your bait firmly in shifting sand and heavy wave action.
Matching Sinkers to Your Line and Rig
Before casting, you must ensure your sinker is fully compatible with your fishing line and rig components. Different line materials, such as monofilament, fluorocarbon, and braided line, react differently to the friction and pressure exerted by sinkers.
Monofilament and fluorocarbon lines are susceptible to flattening or weakening if pinch-on sinkers are crimped too tightly. Braided line, while highly resistant to stretching, is thin and slick, meaning sliding sinkers can slide too freely and cause friction wear over time.
To protect your knots from the constant impact of a sliding egg or bullet sinker, always install a small plastic bead between the sinker and your swivel. This bead acts as a shock absorber, preventing the hard metal or plastic of the sinker from battering and weakening the critical knot that holds your rig together.
Additionally, verify that the inner hole or eyelet of your sinker is smooth and appropriately sized for your line diameter. A hole that is too tight can pinch the line and restrict movement, while a rough edge inside the sinker can fray your line during a fight with a fish.
Finally, always check the printed specifications on your fishing rod, usually located just above the handle. Rods are rated for specific lure and weight ranges; casting a sinker that exceeds these limits can overload the rod blank, leading to poor casting accuracy or even structural failure of the rod.
Step-by-Step: Attaching and Testing Your Sinker
Attaching your sinker correctly is vital to maintaining the structural integrity of your fishing line. For pinch-on split shots, place the line inside the open groove and use a pair of fishing pliers to apply gentle, even pressure until the weight grips the line; avoid squeezing too hard, as crushing the line core will create a weak point.
For a sliding rig, slide the line through the center hole of an egg or bullet sinker, thread on a protective plastic bead, and then tie your line to a barrel swivel using a reliable knot like the Palomar or Clinch knot. Once attached, inspect the line immediately above and below the sinker for any visible kinks, flattening, or fraying.
Before making a full cast, perform a close-range water test by dropping your rig near the shore or boat side. Observe how quickly the rig sinks, check if the line remains at a manageable angle, and feel the rod tip to ensure you can detect the weight touching the bottom.
Use this test to make immediate adjustments to your setup. If your bait drifts rapidly away from your target area or fails to reach the bottom, add a slightly heavier sinker; if your rod tip bends excessively under the weight or your bait drags heavily through mud without moving naturally, reduce the weight.
When fishing in strong currents, surf, or deep coastal waters, always prioritize personal safety and check local weather forecasts before setting up. Heavy sinkers can help anchor your line, but they cannot replace proper water safety training, personal flotation devices, and sound judgment in rough conditions.
Frequently Asked Questions (FAQ)
Are lead sinkers safe to use and legal everywhere?
Lead has historically been the most common material for sinkers due to its high density and low cost, but its use is increasingly restricted. You should always verify local and national environmental regulations before fishing, as many jurisdictions ban lead tackle in specific waterways to protect wildlife from accidental ingestion.
If you are fishing in restricted areas or want to minimize your environmental footprint, several non-toxic alternative materials are widely available. Tungsten is highly dense and compact but carries a higher cost, while steel, brass, and tin are affordable alternatives that are lighter and require slightly larger profiles to achieve the same weight.
Regardless of the material you choose, practice responsible angling by disposing of damaged sinkers at designated recycling stations. Avoid leaving lost tackle in the water by using appropriate line strengths and knots to minimize breakages.
How do I know if my sinker is too heavy for my rod?
You can identify an overloaded rod by observing how the tip behaves when you lift your rig off the ground or prepare to cast. If the rod tip bends deeply under the static weight of the sinker or feels sluggish and slow to recover when moved, the weight is likely too heavy.
To confirm this, check the manufacturer specifications printed directly on the rod blank, which list the recommended lure weight range (often in ounces or grams). Keeping your total terminal tackle weight—including the sinker, hook, and bait—within this specified range ensures optimal performance.
Casting a setup that exceeds your rod’s rated capacity severely reduces your casting distance and accuracy. More importantly, the excessive stress placed on the graphite or fiberglass blank during a high-energy cast can cause the rod to snap, resulting in permanent equipment damage and potential injury.

Community discussion
Share your experience or ask a question. Comments are reviewed before publication.