
Selecting the right road bike light for Singapore’s Park Connector Network (PCN) requires balancing two distinct needs: illuminating dark path segments and remaining visible to other path users without blinding them. Because the PCN transitions rapidly between brightly lit urban corridors and pitch-black coastal or park stretches, a single fixed-brightness light rarely suffices. Road cyclists must look for versatile systems that adapt to changing ambient light while fitting securely on streamlined drop bars or aerodynamic cockpits.
Your choice should prioritize adjustable beam settings, secure mounting systems, and robust weather resistance to handle sudden tropical downpours. By focusing on how a light performs across different sections of your commute, you can maintain safe riding speeds and ensure a cooperative environment with pedestrians, runners, and fellow cyclists.
Understanding PCN Lighting Conditions and Your Needs
The Park Connector Network spans a diverse range of environments, each presenting unique lighting challenges. Many urban sections are well-lit by streetlights and surrounding infrastructure, where your primary goal is to be seen by others rather than to light up the ground. However, as you transition into coastal loops, canal ways, or paths bordering nature reserves, overhead lighting can disappear entirely, leaving you reliant solely on your own equipment.
Products mentioned in this guide
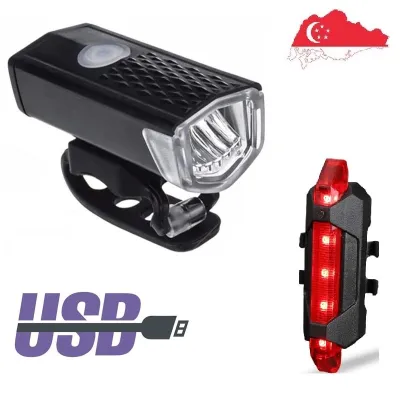
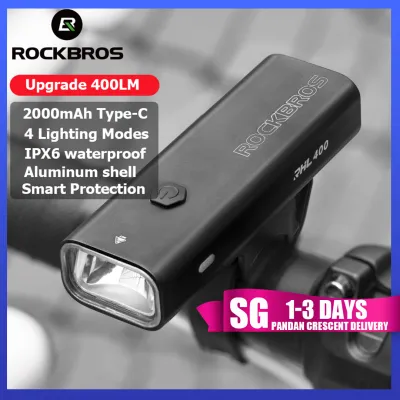
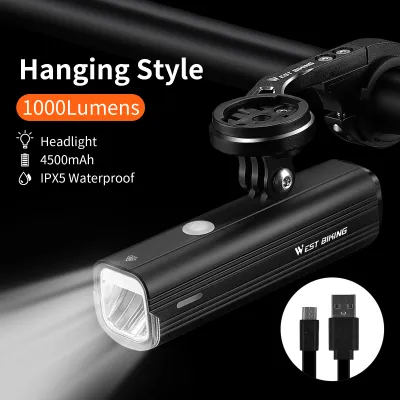
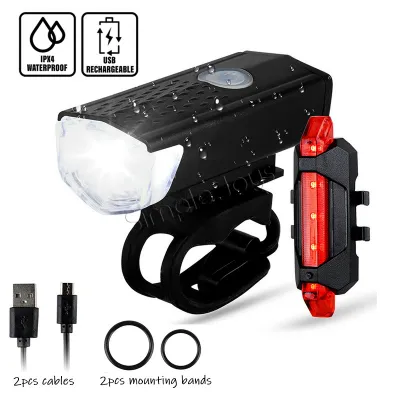
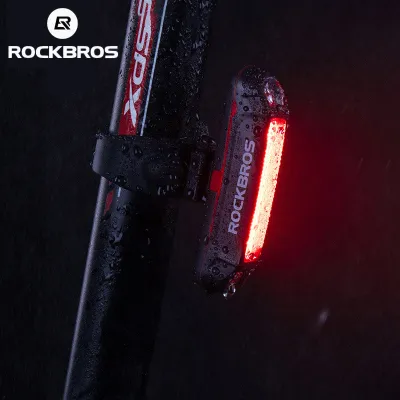
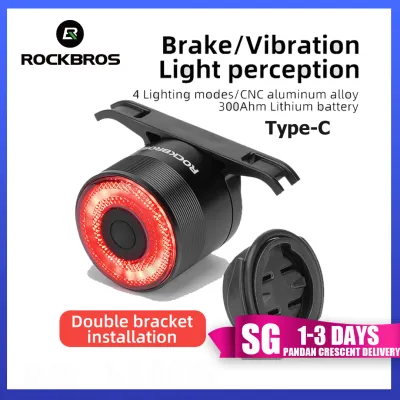
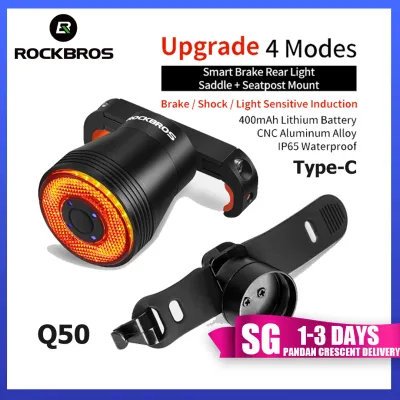
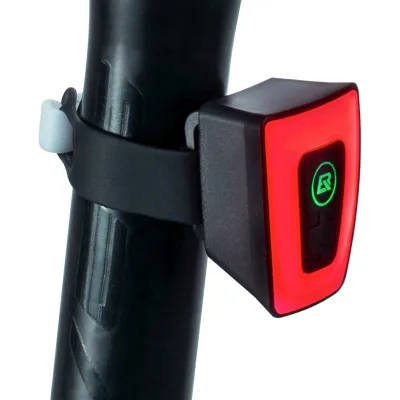
Prices are valid at publication and may change. Please refer to the product page for the latest price.
This dual-purpose requirement means your front light must serve as both a beacon and a headlight. In high-traffic, well-lit areas, a wide, low-intensity beam or a gentle pulsing mode helps pedestrians notice your approach from a distance. In unlit sections, a focused, downward-pointing beam is essential for spotting path hazards, debris, or sudden turns in time to react safely.
Riding speeds on a road bike are typically higher than those of casual commuters or rental bike users, even when adhering to local path speed limits. Higher speeds reduce your reaction time, meaning your light must project far enough ahead to reveal obstacles before you reach them. A narrow, long-throw beam pattern is highly beneficial for these faster stretches, provided it can be dimmed or angled down when approaching other path users.
Key Features to Evaluate for Road Bikes
Transitioning from general commuter cycling to road cycling introduces specific equipment constraints that influence your light selection. Road bikes prioritize efficiency, clean cockpit layouts, and secure attachments that can withstand vibrations at higher speeds. A bulky, heavy light can disrupt steering dynamics or clutter your handlebars, making streamlined integration a key priority.

To find a light that complements your road setup without compromising safety, you must evaluate three main pillars. These include optical performance, physical integration with your specific handlebar configuration, and environmental durability against local weather conditions.
Brightness and Beam Patterns
When evaluating optical performance, look closely at the manufacturer’s stated lumen ranges and how they correspond to different output modes. For well-lit urban PCN paths, lower output modes are generally sufficient to make you visible to oncoming traffic and pedestrians. For unlit stretches, you will need to verify that the light offers a higher-output steady mode capable of illuminating the path surface several meters ahead.
The shape of the beam is just as important as its brightness. A highly focused spotlight beam helps you see far down the path but can create blind spots on your periphery and easily blind oncoming path users if misaligned. Conversely, a wide floodlight beam provides excellent peripheral vision, helping you spot pedestrians stepping onto the path, but may lack the throw distance needed for faster riding. Many modern road bike lights feature shaped lenses or dual-beam designs that cut off the top of the beam to prevent glare while spreading light evenly across the path.
Adjustable brightness modes are critical for managing your light’s output throughout a ride. Look for models that allow you to toggle easily between high, medium, low, and flash settings. This flexibility lets you conserve battery power on well-lit roads and boost illumination only when entering darker park sectors, ensuring you do not run out of power mid-ride.
Mounting Compatibility and Aerodynamics
Road bike handlebars come in various shapes and diameters, from traditional round drop bars to proprietary, flattened aerodynamic profiles. Before purchasing, check the manufacturer’s mounting specifications to ensure the bracket is compatible with your specific handlebar shape. Standard rubber strap mounts are highly versatile but may slip on aero bars, whereas rigid bolt-on brackets offer a more secure hold but require specific bar diameters.
Weight and form factor are also key considerations for maintaining a balanced, streamlined road setup. Heavy, front-heavy lights can cause mounts to rotate downward when hitting bumps or riding over rough PCN expansion joints. Selecting a compact light with a high power-to-weight ratio helps keep your cockpit clean and prevents the light from shifting during your ride.
For an optimal setup, consider using an out-front mount that positions the light directly in front of your stem, often underneath a cycling computer. This central positioning aligns the beam perfectly with your front wheel, improves aerodynamics, and frees up valuable handlebar space for your hands. Many manufacturers offer compatible adapters that allow you to slide the light into a standard camera-style mount underneath your computer head unit.
Weather Resistance and Battery Management
Singapore’s tropical climate demands high environmental durability, as sudden, heavy downpours are common year-round. When comparing lights, check the Ingress Protection (IP) rating on the product packaging or specifications. An IPX7 rating indicates the light can withstand temporary immersion in water, making it highly reliable during severe rainstorms, while an IPX6 rating protects against powerful water jets. Avoid lights with lower ratings, as moisture ingress can cause sudden electronic failure.
Battery management is another critical factor for daily commuters and long-distance riders. Most modern road bike lights utilize integrated lithium-ion batteries rechargeable via USB-C, offering convenient charging at home or the office. Verify the charging port cover is made of thick, secure rubber that seals tightly to prevent water from entering the charging port during wet rides.
Keep in mind that all rechargeable batteries experience gradual degradation over time, which reduces their maximum runtime. When planning your rides, check the manufacturer’s runtime specifications for each brightness mode and ensure your typical commute fits comfortably within the medium-to-high output battery life window. Carrying a small, weather-sealed backup light is a sensible precaution for longer night rides.
Building Your Shortlist: Front and Rear Light Setup
A complete road bike lighting system must include both a front light for path illumination and a rear light to ensure you are visible from behind. While front lights help you navigate, rear lights are your primary defense against being overlooked by overtaking cyclists or motorists at PCN crossings and road intersections. A high-quality rear light should feature a wide viewing angle, allowing you to be seen from the sides as well as directly from behind.
Many rear lights offer specialized day-running light modes or highly visible pulse patterns. These settings use rapid, irregular flashes to capture attention in bright daylight or twilight conditions without consuming excessive battery power. When riding in groups on the PCN, however, it is polite to switch your rear light to a low-power steady or slow-pulse mode to avoid distracting the rider directly behind you.
To build your shortlist, create a comparison checklist based on your specific riding habits:
- Verify handlebar and seatpost compatibility, especially for aerodynamic or non-round profiles.
- Confirm the IP rating is sufficient for heavy rain (IPX6 or IPX7 preferred).
- Check that the front light has a downward-angled or cut-off beam option to prevent blinding others.
- Ensure the battery runtime on your required brightness setting exceeds your longest planned ride by at least thirty percent.
- Look for USB-C charging compatibility to simplify your charging routine.
Safe Riding and Maintenance Practices
Owning high-quality lights is only half the battle; proper usage and regular maintenance are essential for ensuring safety on the PCN. Before every ride, perform a quick pre-flight check of your lighting system. Turn on both lights to verify battery levels, check that the mounts are securely tightened and do not wobble, and wipe any road grime or dust off the lenses to ensure maximum light output.
Proper beam alignment is a crucial aspect of trail etiquette on shared paths. Always angle your front light slightly downward so the brightest part of the beam strikes the ground five to ten meters ahead of your front wheel. This provides adequate reaction time while keeping the intense center of the beam out of the eyes of oncoming pedestrians and cyclists, preventing temporary blindness that could lead to collisions.
Post-ride care is vital for extending the lifespan of your equipment, especially after riding in wet conditions. Wipe down the light body and mount with a soft, dry cloth to remove water, mud, and road salt. Avoid charging the light while the charging port is still damp; allow it to dry completely in a well-ventilated area before plugging it in to prevent short circuits and corrosion.
Frequently Asked Questions (FAQ)
Are flashing lights allowed on the Park Connector Network?
Yes, flashing lights are generally allowed, but they should be used with consideration for other path users. Rapid, high-intensity strobe modes can be highly disorienting and distracting on narrow, dark shared paths. It is best to use a steady beam or a gentle, slow-pulsing mode when riding on the PCN, reserving high-intensity flashes for daytime road riding where you need to stand out to motorists.
How should I angle my front light on shared paths?
Your front light should always be angled downward, pointing toward the path surface rather than straight ahead. Aim the hot spot of the beam to hit the ground approximately five to ten meters in front of your bicycle. This ensures you can see immediate hazards while preventing the beam from shining directly into the eyes of oncoming pedestrians and cyclists.
Do I need a light if I only ride during the day?
While you do not need a light to see the path during the day, using daytime running lights significantly improves your visibility to others. A pulsing front and rear light can help motorists spot you more quickly at PCN crossings and road intersections. For daytime use, select a light with a dedicated high-visibility pulse mode designed to contrast with bright sunlight.

Community discussion
Share your experience or ask a question. Comments are reviewed before publication.