
Choosing the right fitness band resistance depends on the target muscle group, your current strength, and the specific exercise mechanics. The goal is to maintain proper form while providing enough tension to stimulate adaptation without risking joint strain or equipment failure. Selecting a band that is too light leads to undertraining and minimal physical progress, while choosing one that is too heavy compromises your movement patterns, increases the risk of joint compensation, and can cause the band to snap or slip. By understanding how resistance bands behave differently from traditional weights, you can systematically match the band’s tension to your physical capabilities and training goals.
Understanding Resistance Band Tension and Labeling
Unlike traditional free weights, which exert a constant gravitational pull, fitness bands provide variable progressive resistance. This means the tension increases as the band is stretched further. When selecting a band, it is crucial to understand that there is no universal industry standard for color-coding. While many manufacturers use a progression from yellow or green for light resistance to red, blue, black, or gold for heavier resistance, these systems vary significantly between brands and product lines. A ‘medium’ band from one manufacturer might offer the same tension as a ‘heavy’ band from another.
To make an informed decision, always check the product packaging, official brand website, or printed labels for the specific tension ranges, which are typically measured in kilograms or pounds at specific stretch percentages (such as 100% or 200% elongation).
Products mentioned in this guide
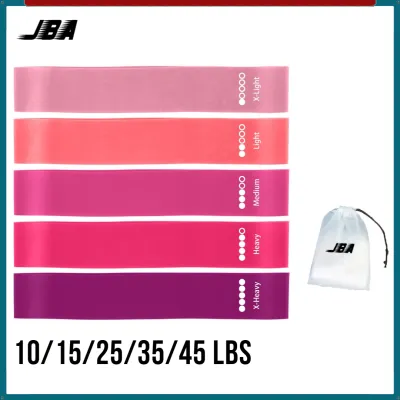

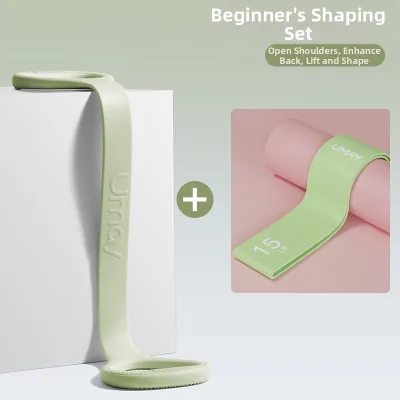
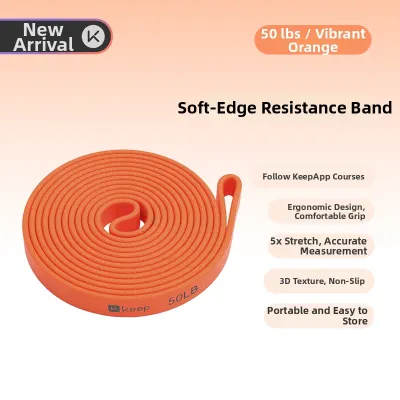
Prices are valid at publication and may change. Please refer to the product page for the latest price.
The structural design of the band also dictates how tension is distributed and perceived during an exercise:
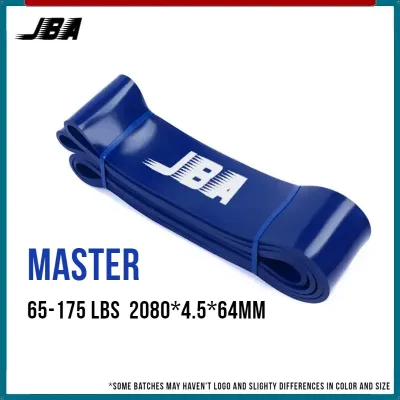
- Loop bands: These continuous flat loops are highly versatile for lower-body movements, lateral walks, and pull-up assistance. Their tension is distributed evenly across the loop, but because they are often shorter, they reach high tension levels quickly when stretched.
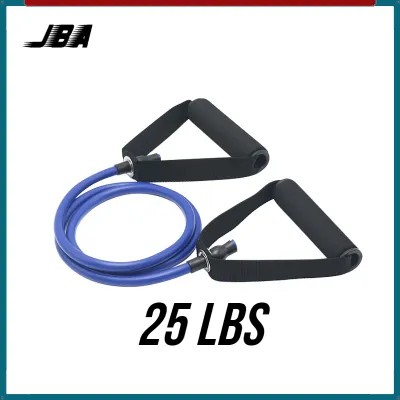
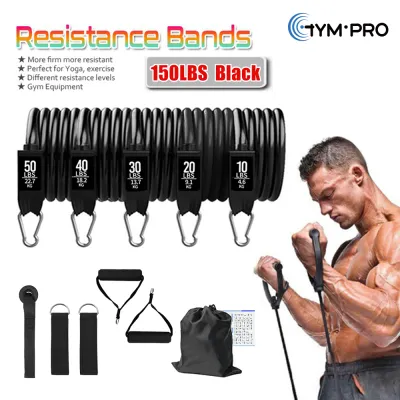
- Tube bands with handles: These cylindrical tubes are designed to mimic cable machines or dumbbells. They often feature metal clipping systems to attach handles or ankle straps. The tension is concentrated along the length of the tube, and the handles allow for a secure grip, making them suitable for upper-body pushing and pulling movements.
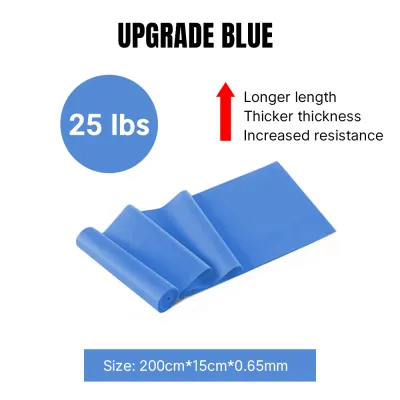
- Flat therapy bands: These thin, non-loop latex or non-latex sheets are primarily used for rehabilitation, gentle stretching, and mobility work. They offer much lower tension levels and are typically gripped by wrapping the material directly around the hands.
Matching Resistance Levels to Target Muscle Groups
To optimize your workouts, you must match the resistance level of the band to the size and natural strength capacity of the target muscle groups. Large muscle groups, such as the glutes, quadriceps, hamstrings, and the latissimus dorsi in the back, possess a high capacity for force production. To stimulate these muscles effectively and reach muscular fatigue within your target repetition range, you will generally require thicker loop bands or heavy-duty tube bands. Using a band that is too light for a squat or a row will fail to trigger physical adaptation.

Conversely, smaller or more vulnerable muscle groups require a much lighter resistance band. Muscles like the rotator cuff, biceps, triceps, and lateral deltoids are smaller and operate across shorter lever arms. Attempting to use a heavy band for lateral raises or external shoulder rotations forces larger, surrounding muscles to compensate, which can lead to joint strain and poor movement habits.
You can categorize your exercises into three primary resistance categories based on biomechanics and leverage:
- Heavy resistance needs: Compound lower-body movements such as squats, deadlifts, glute bridges, and lateral monster walks, as well as major upper-body pulling movements like bent-over rows.
- Medium resistance needs: Moderate compound movements and larger isolated exercises, including chest presses, overhead shoulder presses, bicep curls, and lat pulldowns.
- Light resistance needs: Isolated movements targeting small stabilizing muscles, such as shoulder external rotations, face pulls, front raises, and ankle distraction exercises.
Adjusting Resistance for Your Fitness Level and Training Goals
Your personal fitness level and specific training objectives must guide your band selection. A beginner focusing on learning movement patterns will require a completely different tension level than an experienced athlete aiming for muscle hypertrophy.
If your goal is rehabilitation or mobility, your focus must be on joint health and restoring movement patterns. Select a very light tension band that allows you to move through a full, pain-free range of motion. The resistance should feel minimal, serving as a guide for the joint rather than a heavy load.
For muscular endurance, the objective is to perform high repetition ranges (typically 15 to 20 or more repetitions) while maintaining a steady, controlled pace. Choose a light-to-medium band that allows you to complete the entire set without experiencing sudden muscle failure or a drop in movement speed.
If you are training for strength and hypertrophy, you need to select a band that makes the last few repetitions of a target set (usually 8 to 12 repetitions) highly challenging but still achievable with strict form. Because bands do not have a fixed weight label like a dumbbell, you can use the Rate of Perceived Exertion (RPE) scale to gauge tension. On a scale of 1 to 10, where 10 represents maximum effort, your working sets for strength should land between an RPE of 7 and 9. This means you should finish your set feeling as though you have 1 to 3 ‘reps in reserve’ before your form would completely break down.
Step-by-Step Guide to Testing and Selecting the Right Band
Before starting a full workout session, follow this systematic process to physically test and confirm your band selection:
- Step 1: Perform a warm-up set: Begin with a band that is lighter than your estimated working band. Perform 5 to 10 slow, controlled repetitions of the target exercise. Use this set to assess your movement pattern, verify that your anchor point is completely stable, and ensure your joints feel comfortable and pain-free.
- Step 2: Progress to the working band: Transition to the band you believe matches your target resistance level. Perform 3 to 4 repetitions, focusing intensely on both the concentric phase (the pulling or pushing action) and the eccentric phase (the controlled return to the starting position).
- Step 3: Evaluate the tension at peak contraction: Pay close attention to how the resistance feels at the end of the movement, where the band is stretched the most. Because resistance bands provide variable tension, the load will feel lightest at the start and heaviest at the peak. Ensure you can hold the peak contraction for a split second without losing your balance or collapsing your posture.
- Step 4: Adjust the tension dynamically: If the band feels too light or too heavy, you can make immediate adjustments. If you do not have a different band available, you can alter the tension of your current band. For loop or flat bands, shortening your grip width increases the starting tension. For anchored tube bands, stepping further away from the anchor point increases the stretch and resistance, while stepping closer decreases it.
Safety Checks, Form Cues, and When to Stop
Using fitness bands safely requires constant attention to form and equipment integrity. Form breakdown is the primary indicator that your selected band is too heavy. If you find yourself arching your lower back, jerking your torso to create momentum, holding your breath, or shortening the range of motion to complete a repetition, stop immediately and switch to a lighter band.
Before every workout, perform a thorough physical inspection of your bands. Look for micro-tears, small punctures, discoloration, or areas where the material has turned white or brittle. Check the connection points on tube bands where the tubing meets the plastic or metal clips. If you notice any signs of wear, discard the band immediately, as compromised rubber can snap under tension and cause severe injury.
Establish clear stop conditions during your exercises. Stop the movement immediately if you experience sharp joint pain, if the band begins to slip from its anchor point, or if you feel the band stretching beyond its recommended limit (typically more than three times its resting length). If you are using fitness bands for post-injury rehabilitation or are unsure about how to load a specific joint safely, consult a physical therapist or a qualified fitness professional to design a customized progression.
Frequently Asked Questions (FAQ)
Can I combine multiple fitness bands for a heavier workout?
Yes, stacking or combining multiple fitness bands is an effective and safe way to increase resistance when a single band no longer provides enough tension. To do this safely, ensure that all combined bands are of similar length and are anchored to the exact same point. If using tube bands, clip both tubes into the same handle. If using loop bands, align them perfectly on top of each other. This prevents uneven tension, which can cause one band to twist, slip, or snap during the exercise.
How do I know if my fitness band is too heavy for an exercise?
The clearest sign that a fitness band is too heavy is the inability to control the eccentric, or return, phase of the movement. If the band snaps back quickly and pulls your limbs back to the starting position without your control, the resistance is too high. Other signs include compensatory movements, such as shifting your body weight to swing the band, using momentum, or being unable to reach the full range of motion required for the exercise.
Community discussion
Share your experience or ask a question. Comments are reviewed before publication.