
Choosing the right handlebar bag depends on balancing your daily cargo needs with your bike’s physical geometry and mounting limitations. A bag that works perfectly for a quick cruise along the local park connector network might sway excessively on a rugged trail or block your gear cables on a road bike. To find the ideal match, you must evaluate how much gear you need to carry, measure your cockpit clearances, and select a mounting system that remains secure without damaging your frame or components.
Assess Your Riding Routine and Cargo Needs
Your typical riding route and duration dictate the volume and style of handlebar bag you require. For short, casual rides along the Park Connector Network (PCN) or quick urban commutes, a compact, cylindrical bar bag with a capacity of one to two liters is often sufficient. These smaller pouches easily hold essentials like your phone, keys, a compact multi-tool, and a light snack without adding noticeable weight or affecting your steering.
When transitioning to longer weekend rides or full-day excursions, your cargo requirements naturally expand. You may need to carry extra layers, a compact pump, spare inner tubes, and additional nutrition. A medium-sized bag, ranging from three to six liters, provides the necessary space for these items while keeping them organized. For these mid-sized loads, look for bags with internal dividers or key clips to prevent smaller items from rattling around during your ride.
Products mentioned in this guide
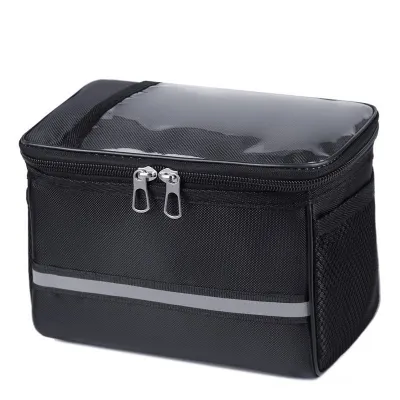
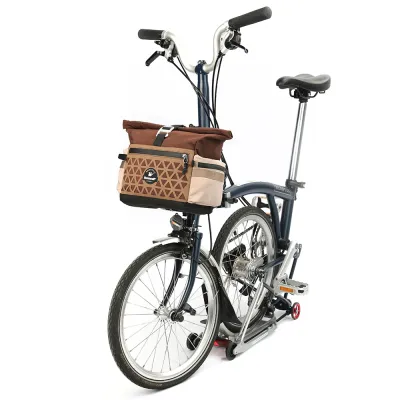
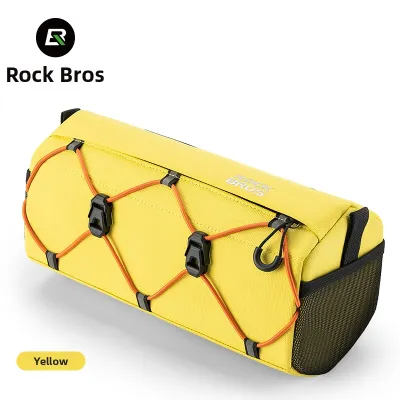
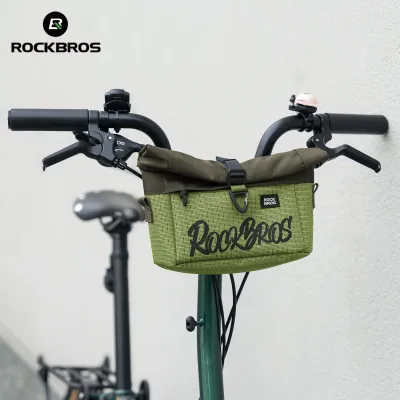
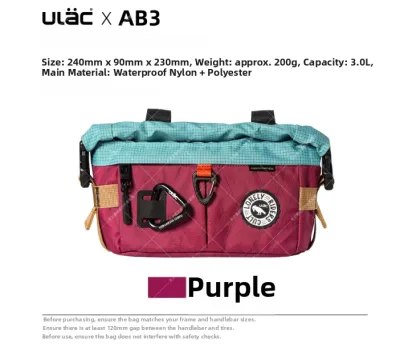
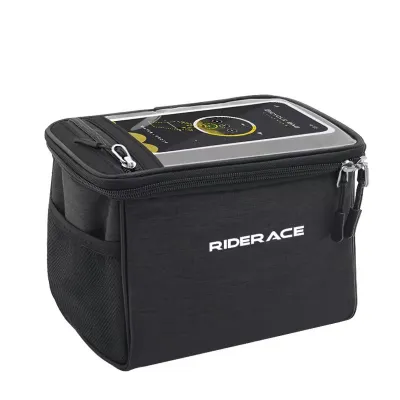
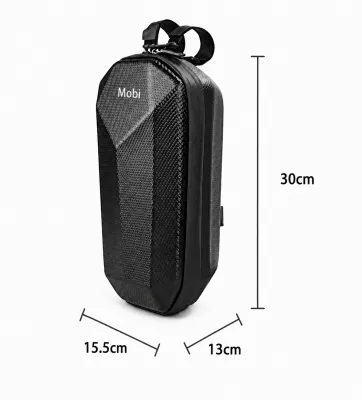
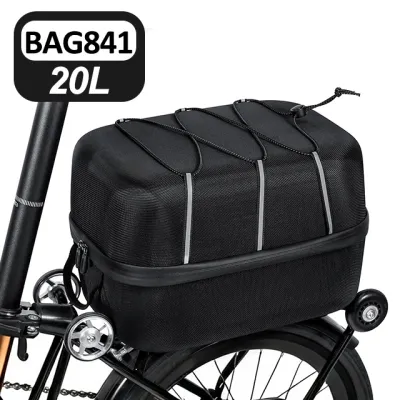
Prices are valid at publication and may change. Please refer to the product page for the latest price.
Multi-day bikepacking trips demand high-capacity storage solutions, typically in the form of large roll-top dry bags or harness systems that can hold nine to fifteen liters of gear. These systems are designed to carry lightweight but bulky items, such as a compact sleeping bag, bivy sack, or spare clothing. Because these bags carry significant weight, they require robust mounting systems to prevent sagging and to maintain stable handling on uneven terrain.
Access style is another critical factor to consider based on your riding habits. If you frequently stop to take photos, check navigation maps, or grab snacks on the go, a bag with a quick-access top zipper or a magnetic flap closure is highly convenient. Conversely, if you are riding in dusty or wet environments where protecting your gear is the primary concern, a roll-top closure offers reliable sealing and allows you to compress the bag’s volume to match the contents.
Match Bag Shape and Size to Your Bike Geometry
Before purchasing any handlebar bag, you must verify that its physical dimensions are compatible with your bike’s specific geometry. The most critical measurement is the vertical clearance between the underside of your handlebars and the top of your front tire or mudguard. If a loaded bag hangs too low, it can rub against the tire, causing rapid wear to the fabric and potentially locking up the front wheel, which poses a severe safety hazard.

To measure this clearance accurately, park your bike on a flat surface and measure the distance from the top of your handlebar tape down to the tire. If your bicycle features a front suspension fork, you must account for fork compression under load. Compress the suspension fully or consult your manufacturer’s manual to determine the maximum travel distance, then subtract this value from your total clearance measurement to find your safe bag height limit.
Handlebar width is equally important, particularly for road and gravel bikes equipped with drop handlebars. A bag that is too wide will crowd your hands when riding on the tops or prevent you from fully wrapping your fingers around the brake hoods and drops. Ensure there is at least a few centimeters of clearance on either side of the bag to allow for comfortable hand positioning and unobstructed operation of your integrated brake and shift levers.
Modern bicycle cockpits often feature a complex network of brake hoses, gear cables, and electronic shifting wires that can interfere with bag placement. Standard strap-based bags can pinch these cables against the head tube, leading to sluggish shifting, restricted steering, or accelerated wear on the outer housing. Inspect your cockpit to see if your cables exit close to the stem, and consider bags with recessed mounting points or spacer blocks that push the bag forward to clear these lines.
Evaluate Mounting Systems and Compatibility
The security of your handlebar bag relies entirely on its mounting system, which must keep the load stable without slipping or damaging your bicycle. Traditional strap-based mounts use heavy-duty hook-and-loop straps or rubberized straps to wrap directly around the handlebar. While these systems are highly versatile and easy to transfer between different bikes, they can slide around on smooth metal or carbon fiber surfaces if not tensioned correctly.
For riders who frequently remove their bag when parking at cafes or commuting, a quick-release bracket system offers excellent convenience. These proprietary mounts bolt directly to the handlebar or stem faceplate, allowing you to click the bag on and off in seconds. However, these brackets add permanent weight to your cockpit and may not be compatible with oversized handlebar diameters, integrated aero bars, or carbon fiber handlebars that are sensitive to clamping pressure.
Carbon fiber components require extra care during installation to prevent structural damage. Never over-tighten mounting straps or brackets on carbon handlebars, and always check the manufacturer’s torque specifications if using bolt-on mounts. Additionally, the constant friction of a bag rubbing against your bike’s head tube or handlebar can quickly wear away paint, decals, or even raw carbon fibers over time.
To protect your frame and components, apply clear protective adhesive tape to all contact points on your frame and handlebars before mounting the bag. Many high-quality bags include foam spacer blocks or rubber shims that serve a dual purpose: they create space for your cables and provide a high-friction grip that prevents the bag from rotating downward when riding over bumps. Regularly inspect these contact points to ensure the protective barriers remain intact.
Verify Weather Protection and Material Durability
Your handlebar bag will inevitably face exposure to the elements, making material durability and weather resistance key factors in your decision. Manufacturers typically classify bags as either water-resistant or fully waterproof. Water-resistant bags are constructed from durable fabrics like Cordura or nylon treated with a Durable Water Repellent (DWR) coating, which can withstand light drizzle and road spray but may eventually let moisture seep through during prolonged downpours.
If you regularly ride in tropical climates prone to sudden, heavy rainstorms, or if you carry sensitive electronic devices like cameras and tablets, a fully waterproof bag is essential. These bags feature welded seams rather than stitched seams, preventing water from penetrating the needle holes. They also utilize roll-top closures or specialized waterproof zippers to ensure a complete seal against driving rain.
Beyond water resistance, inspect the overall build quality to ensure the bag can handle the physical demands of daily riding. Look for high denier ratings—such as 500D or 1000D—which indicate a dense, abrasion-resistant weave that resists tearing from trailside branches or accidental drops. Heavy-duty plastic or metal buckles, reinforced stitching at high-stress strap attachment points, and smooth-running, dust-resistant zippers are all indicators of a bag built to last.
Evaluate your personal threshold for weather protection based on what you plan to carry. If your bag primarily holds non-sensitive items like windbreakers, tools, and packaged snacks, a highly water-resistant bag paired with a lightweight internal dry sack for emergencies is a practical setup. For expensive electronics or paper maps, investing in a dedicated waterproof dry-bag construction provides peace of mind.
Frequently Asked Questions (FAQ)
Can I use a handle bar bag on a road bike with drop bars?
Yes, you can use a handlebar bag on a road bike with drop bars, but you must select a model specifically designed for narrow clearances. Standard drop bars limit the horizontal space available between the hoods, meaning wide bikepacking rolls may interfere with your gear shifters or brake levers. Look for compact, cylindrical bags or box-style bags that mount close to the stem. Some designs feature rigid internal frames or specialized brackets that mount directly to the stem faceplate, keeping the bag centered and clear of your hands and controls.
How do I prevent my handlebar bag from swaying while riding?
To prevent your handlebar bag from swaying, ensure it has a secure third attachment point, typically a strap that wraps around your bike’s head tube or steering column. This lower strap prevents the bag from bouncing vertically or swinging forward when you ride over rough terrain. Additionally, pack your bag strategically by placing the heaviest, densest items—such as tools, lock keys, or spare tubes—at the bottom of the bag and as close to the handlebar stem as possible to maintain a stable center of gravity.
Community discussion
Share your experience or ask a question. Comments are reviewed before publication.