
Selecting the right pull-up belt—commonly referred to as a pull-up assistance band—is the most critical step in transitioning from struggling at the bottom of the bar to executing smooth, controlled repetitions. The ideal resistance level does not depend on a generic fitness label; instead, it is a precise calculation based on your current body weight, your baseline pulling strength, and your specific training objectives. Choosing a band that is too thick can stall your progress by taking over the work your muscles need to perform, while a band that is too thin can lead to form breakdown, frustration, or injury.
To find your perfect match, you must first establish an accurate baseline of your unassisted strength. From there, you can map your capabilities to the tension specifications provided by manufacturers, aligning the band’s supportive force with your immediate workout goals. Whether you are working out in a home setup or training at a local fitness corner, understanding how to read these tools ensures you build real, functional strength safely and systematically.
Assess Your Current Unassisted Pull-Up Strength
To determine which pull-up belt will offer the correct amount of assistance, you must first evaluate your current upper-body pulling capacity. This baseline test ensures you do not select a band based on guesswork, which often leads to purchasing equipment that is either too restrictive or completely unsupportive.
Products mentioned in this guide
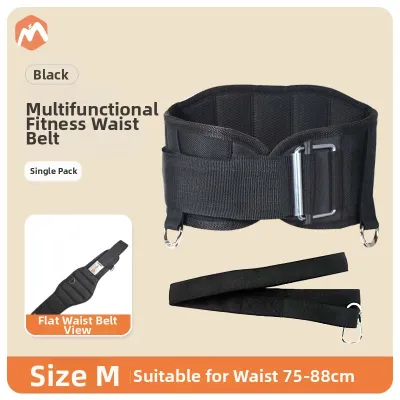
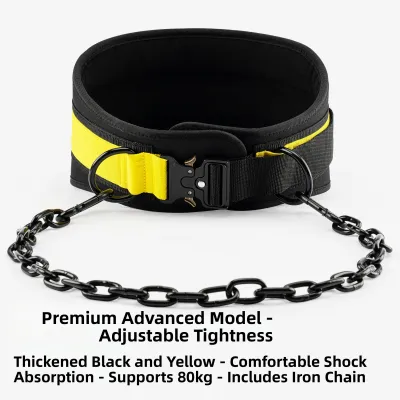
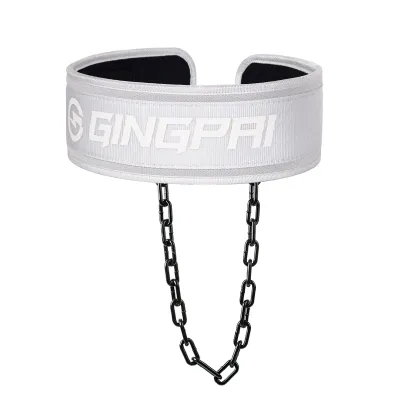
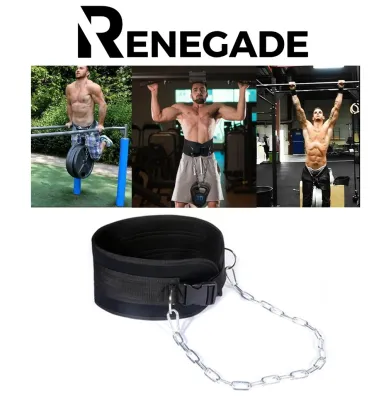
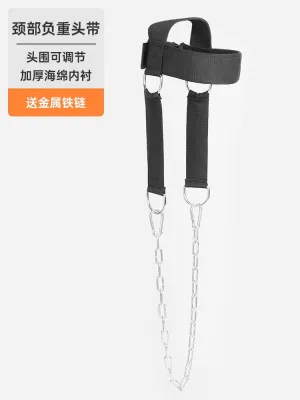
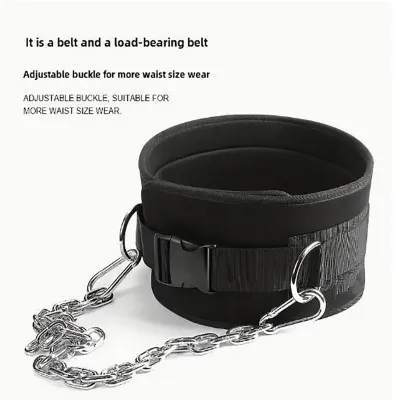
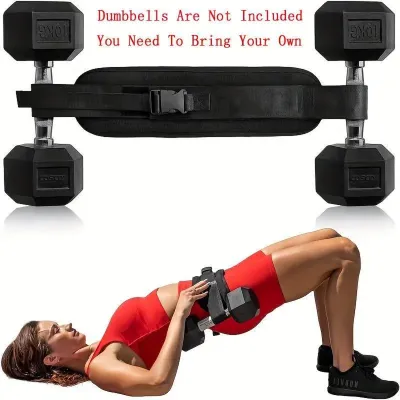
Prices are valid at publication and may change. Please refer to the product page for the latest price.
The standard testing protocol requires performing a maximum set of unassisted pull-ups with strict form. Begin from a dead hang with your arms fully extended and your grip slightly wider than shoulder-width. Pull yourself upward until your chin completely clears the bar, keeping your core engaged and avoiding any swinging, kicking, or kipping movements. Lower yourself under control back to the starting dead hang. Record the exact number of completed, clean repetitions. If you can perform even one or two clean repetitions, this number serves as your primary baseline.
For beginners who cannot yet complete a single unassisted pull-up, alternative baseline tests are necessary to gauge your starting point. The first test is the dead hang: hang from the bar with an active shoulder position (shoulders pulled down and away from your ears) and time how long you can maintain this hold. A target of 20 to 30 seconds indicates a solid foundation of grip and shoulder stability. The second test is the negative pull-up, where you jump or use a step to get your chin over the bar, then lower your body as slowly as possible. If you can control this descent for 5 to 10 seconds, you have developed initial eccentric strength. Finally, inverted rows using a low bar or suspension trainer can help measure your horizontal pulling strength.
Once you have your baseline, you must learn to read the manufacturer’s specifications. Do not rely on the physical thickness of the band or assume that a specific color represents a universal resistance level across different brands. Instead, look at the packaging or product description for the printed weight-equivalent resistance range, which is typically expressed as a range of kilograms or pounds. This range represents the tension the band provides at different stages of stretch. The higher number indicates the assistance provided when the band is fully stretched at the bottom of the pull-up, while the lower number represents the assistance at the top of the movement where the band is less taut.
Match Resistance Levels to Your Fitness Stage
Once you have established your baseline strength, you can match your capabilities to one of three primary resistance categories. Each category serves a distinct purpose in your strength journey, helping you bridge the gap between your current physical limits and your ultimate fitness goals.

Heavy or thick resistance bands are designed for absolute beginners who require maximum assistance. If you cannot perform a single unassisted pull-up, or if your dead hang time is under 15 seconds, a heavy band is the correct starting point. These bands typically offer a high level of tension, often supporting a significant portion of your body weight. This substantial assistance is crucial for building initial neuromuscular patterns, allowing your nervous system to learn the correct path of motion without being overwhelmed by your full body weight. It ensures you can practice the full range of motion, from the bottom stretch to the top squeeze, without compromising your form.
Medium resistance bands are ideal for intermediate users. This category is suitable for individuals who can perform between one and five unassisted pull-ups but struggle to complete multiple sets or maintain high volume. A medium band provides enough support to manage fatigue during longer workouts, allowing you to complete your target sets without your form deteriorating. It helps you bridge the gap between low-rep strength and high-volume training, ensuring that your muscles spend enough time under tension to stimulate adaptation.
Light or thin resistance bands are reserved for advanced users who are already proficient in unassisted pull-ups. If you can comfortably complete eight or more strict pull-ups, a light band serves as a tool for form refinement, high-speed power training, or pushing past stubborn plateaus. These bands offer minimal assistance, providing just enough help at the very bottom of the movement to keep you moving through high-repetition sets or metabolic conditioning circuits. They are also excellent for warm-up routines, helping to activate the lats, shoulders, and rotator cuffs before transitioning to weighted or unassisted pulling.
When purchasing your equipment, always check the product labels for exact tension specifications. Color coding is not standardized in the fitness industry; a red band from one manufacturer might offer light resistance, while a red band from another might be a heavy-duty option. Verify the actual tension range printed on the product details to ensure the band matches your calculated needs.
Align Resistance with Your Training Goals
Your choice of pull-up belt resistance should also align with your specific training objectives. Different rep ranges and training styles require different levels of assistance to trigger the desired physiological adaptations.
If your primary goal is strength building, you should focus on low-repetition, high-quality sets. To build raw strength, you need to recruit high-threshold motor units, which is best achieved by keeping your repetitions low (typically three to six reps per set) and the intensity high. If you cannot perform this volume unassisted, use a heavier band to ensure you can complete every repetition with perfect form, zero momentum, and a controlled eccentric phase. The assistance should be just enough to let you complete the set while keeping you close to muscular failure by the final repetition.
For hypertrophy and muscle volume, the target rep range shifts to eight to twelve repetitions per set. To maximize muscle growth, you need to optimize time under tension and metabolic stress. A medium assistance band is highly effective here, as it allows you to reach these higher rep ranges without your form breaking down halfway through the set. The band supports your body as your muscles fatigue, ensuring you can complete the full range of motion and achieve a deep muscular pump in your upper back and biceps.
If you are training for muscular endurance and conditioning, you will want to perform high-repetition sets, often exceeding fifteen repetitions, or incorporate pull-ups into fast-paced circuits. In this scenario, a lighter assistance band is preferred. The goal is not to make the exercise easy, but to provide a slight safety net that prevents sudden failure during high-volume workouts. This minimal support allows you to maintain a steady tempo and keep your heart rate elevated without having to stop and rest excessively between repetitions.
You can also fine-tune the effective resistance of your band during a workout by adjusting your physical setup. Placing your foot into the loop of the band stretches it further, maximizing the tension and providing the greatest amount of assistance. If you find this too easy but are not ready to drop to a lighter band, place your knee into the loop instead. This shortens the stretch of the band, reducing the assistance and forcing your upper body to carry more of your actual weight.
Progression Strategy: When to Drop to a Lighter Band
To make continuous progress, you must systematically reduce the amount of assistance you use over time. Relying on the same heavy band indefinitely will stall your strength gains, as your muscles will adapt to the assisted load and stop growing stronger.
You are ready to transition to a lighter resistance band when you hit specific performance milestones. A reliable indicator is the ability to complete three sets of ten repetitions with your current band using perfect form, while feeling like you still have two or three repetitions left in reserve at the end of each set. If you can complete your entire workout routine without experiencing form breakdown, loss of control during the descent, or excessive shrugging of the shoulders, it is time to challenge your muscles with less assistance.
If the jump to the next lighter band feels too challenging, you can implement micro-progressions to bridge the gap. One highly effective method is to alter your body angle or leverage. Another approach is to use the lighter band exclusively for the eccentric, or lowering, phase of the exercise. You can jump to the top of the bar, then use the minimal support of the lighter band to control your descent for a slow five-second count. This builds the necessary eccentric strength required to eventually perform the concentric pulling phase with the lighter band.
Regardless of your fitness level, safety must remain your top priority during every training session. Before you attach your pull-up belt to the bar, perform a thorough visual and tactile inspection. Look for micro-tears, discoloration, dry rot, or small nicks along the edges of the band. Stretch the band slightly to check for any loss of elasticity or internal cracking. If you detect any signs of wear, replace the band immediately, as a snapping band under high tension can cause severe injury. Always ensure the band is securely anchored to a stable, overhead structure that can easily support your full body weight.
Frequently Asked Questions (FAQ)
Can I use multiple pull-up belts at the same time?
Yes, you can stack multiple pull-up belts to create a highly customized level of resistance. Stacking a heavy band with a light band, for example, allows you to bridge the gap between standard commercial sizes, providing a precise level of support that matches your exact strength level. As you get stronger, you can simply remove the lighter band rather than purchasing an entirely new piece of equipment.
However, using multiple bands introduces additional safety risks. You must ensure that both bands are anchored identically and stretched evenly to prevent uneven tension, which can cause one band to slip or snap during use. Always check that your overhead bar and anchor point have the structural integrity and weight capacity to handle the combined forces of multiple stretched bands and your body weight.
How do I properly anchor the pull-up belt to the bar?
To secure your pull-up belt safely, use the standard loop-and-pull choke hitch method. Drape the band over the center of your pull-up bar, pull one end of the loop through the other, and pull down firmly to tighten the knot against the bar. This creates a secure, self-tightening anchor point that will not slip sideways during your exercise.
Never anchor your band to unstable structures, sharp metal edges, or bars with highly abrasive, sharp knurling, as these surfaces can quickly cut or degrade the rubber material. Before stepping into the band, perform a quick visual check to ensure the hitch is centered and tight, and gently pull down on the loop to verify that the setup is secure and ready for your workout.
Community discussion
Share your experience or ask a question. Comments are reviewed before publication.