
Training alone in a home gym, such as a spare room or a designated corner in a Singapore HDB flat, offers unmatched convenience but removes the immediate safety net of a coach or spotter. When performing heavy compound movements like squats and deadlifts, a lifting belt becomes a vital tool for self-regulation and spinal stability. However, its effectiveness depends entirely on how you wear it and how well you brace against it. A lifting belt is not a passive support system that automatically protects your spine; rather, it acts as a rigid wall for your abdominal muscles to push against, significantly increasing intra-abdominal pressure to secure your midsection.
To get the most out of this equipment without compromising your natural movement patterns, you must master the mechanics of positioning, tightness, and breathing. When training in isolation, understanding these variables is your primary defense against form breakdown. By learning how to properly integrate a belt into your home workouts, you can safely push your strength limits while maintaining complete control over your lifting environment.
When and Why to Use a Lifting Belt
The primary function of a lifting belt is to enhance intra-abdominal pressure (IAP), which acts as an internal airbag to stabilize your spine from the inside out. When you contract your core muscles against a rigid belt, the pressure inside your abdominal cavity rises. This pressure exerts an outward force that supports the lumbar spine, reducing spinal compressive forces during heavy loads. It is a common misconception that a belt acts as a direct back brace or a corset that holds you together; instead, it is an active training tool that requires your core muscles to work harder, not less.
Products mentioned in this guide
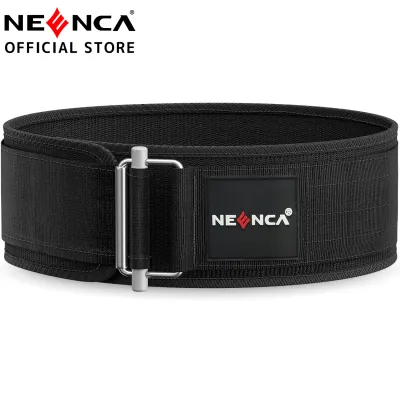
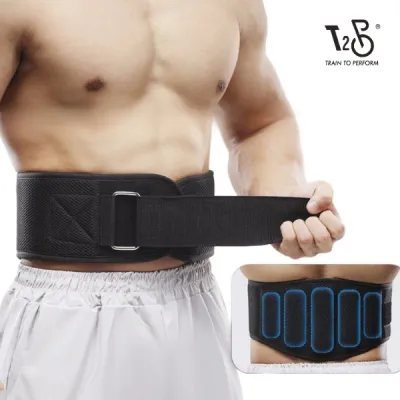
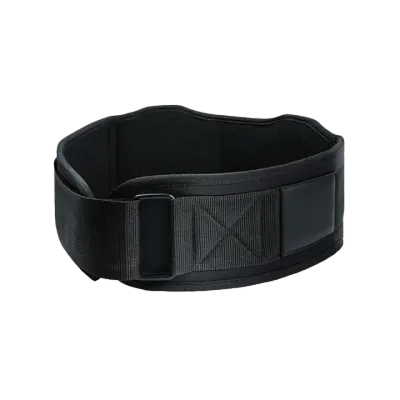
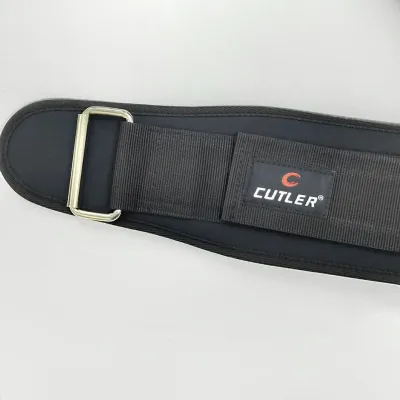
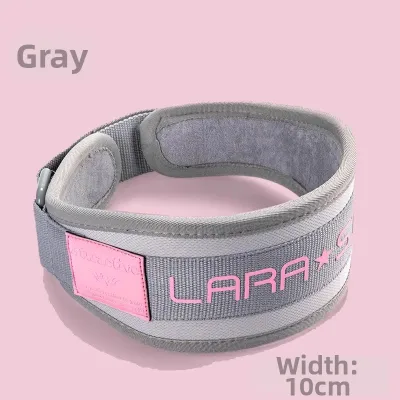
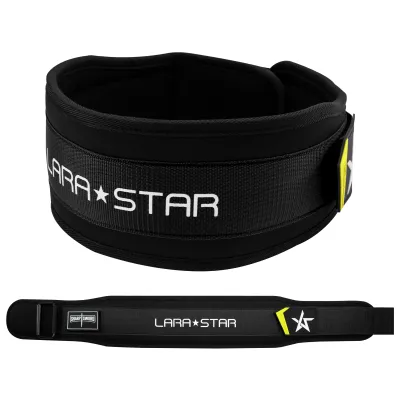
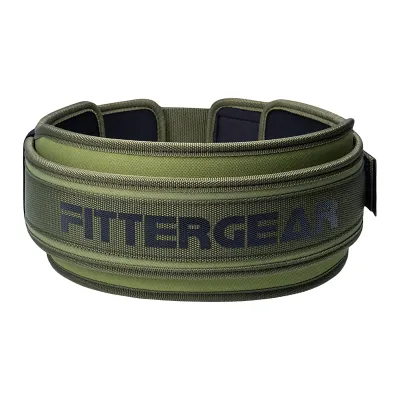
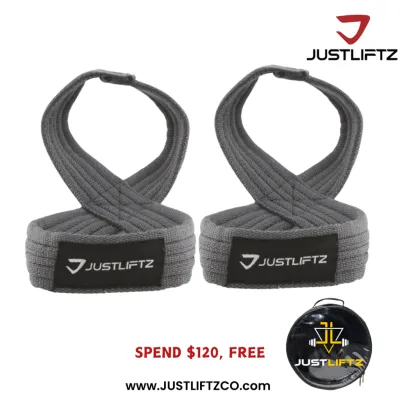
Prices are valid at publication and may change. Please refer to the product page for the latest price.
Because a belt is designed to maximize stability under heavy loads, it is not necessary for every part of your workout. For light warm-ups, mobility drills, or high-repetition accessory work, training without a belt is highly beneficial. Lifting beltless during these lighter sets allows you to develop foundational core strength, improve proprioception, and learn how to stabilize your torso naturally. As a general guideline, consider introducing the belt when your working sets reach approximately 80% of your one-repetition maximum, or during sets where maintaining a rigid torso becomes the primary limiting factor.
Relying on a belt too early in your training progression can mask underlying movement deficiencies. A belt cannot compensate for poor lifting mechanics, a lack of mobility, or weak deep-core stabilizers. If your knees cave during a squat or your lower back rounds immediately at the start of a deadlift, tightening a belt will not fix these issues. Progressive overload should always be built on a foundation of clean, unassisted movement patterns, using the belt strictly as an additive safety and performance tool for your heaviest efforts.
How to Position and Fasten Your Lifting Belt
Finding the correct physical placement for your lifting belt is essential for both comfort and biomechanical efficiency. The standard starting position is around the soft tissue of your midsection, situated directly between the bottom of your rib cage and the top of your iliac crest (pelvis). The belt should sit flat against your lower back and wrap evenly around your abdominal wall. It is crucial to ensure that the edges of the belt do not pinch your hip bones or press painfully into your ribs when you transition into the bottom of a squat or the starting pull of a deadlift.

Once you have found the correct height, you must determine the appropriate tightness. A lifting belt should be fastened snugly, but not so tight that it restricts your ability to take a full diaphragmatic breath. If you have to aggressively suck in your stomach just to latch the buckle or lever, the belt is too tight. A practical way to verify the fit is to fasten the belt and attempt to slide a flat hand between your abdomen and the inside of the belt. You should feel a slight gap when relaxed, which will be completely filled and pressurized once you take a deep breath and brace your core.
After securing the belt, perform a quick physical check to ensure even pressure distribution around your entire torso. The belt must provide a uniform, 360-degree surface for your abdominal wall, obliques, and lower back muscles to push against. If the belt feels lopsided, or if it tilts excessively upward or downward, unfasten it and readjust. Taking an extra moment to verify this alignment is especially important when training alone at home, where you do not have a training partner to point out a crooked belt before you lift.
Breathing and Bracing Techniques with a Belt
To unlock the protective benefits of a lifting belt, you must pair it with the Valsalva maneuver. This breathing technique involves taking a deep, diaphragmatic breath into your belly rather than your chest, and then exhaling against a closed airway. This action dramatically increases intra-abdominal pressure, creating a rigid cylinder of support around your spine. To practice this, place your hands on your lower abdomen and inhale deeply, focusing on expanding your midsection outward in all directions rather than letting your shoulders rise.
When wearing a belt, your goal is to actively push your entire midsection outward and laterally against the rigid material. Imagine trying to expand your waistline to fill every millimeter of space inside the belt. This 360-degree expansion ensures that your obliques and lower back are engaging just as hard as your rectus abdominis. Pushing only your stomach forward creates an uneven brace and reduces the overall stability of your spine. The belt acts as a physical feedback mechanism; you should feel firm, equal pressure against the front, sides, and back of the belt throughout the entire movement.
Maintaining this intense brace is critical during both the lowering (eccentric) and lifting (concentric) phases of your squat or deadlift. Do not release your breath or soften your core at the bottom of a squat or when pulling a deadlift off the floor. Hold the breath and maintain the brace until you have successfully passed the most demanding sticking point of the lift. Once you are near the top of the movement and have regained control, release the air in a controlled, slow hiss rather than a sudden gasp, which can cause an abrupt drop in blood pressure and stability.
Adjusting Belt Usage for Squats vs. Deadlifts
The biomechanical differences between squats and deadlifts often require subtle adjustments to how you position and tighten your lifting belt. For squats, a standard horizontal placement is generally preferred. Because the squat requires you to maintain a relatively upright torso while undergoing deep hip and knee flexion, a level belt provides a consistent, rigid column of support. This positioning helps keep your chest up and prevents your torso from folding forward under the weight of the barbell.
For deadlifts, the starting position requires a deep hip hinge, which can cause a horizontally placed belt to dig painfully into your hip creases or lower ribs. To accommodate this starting posture, many lifters find success by wearing the belt slightly higher up on the torso, or by angling it slightly upward in the front. This minor adjustment clears the hip crease, allowing you to pull yourself into a tight, flat-backed starting position without the belt restricting your hip mobility or pinching your skin as you reach for the bar.
Ultimately, personal comfort and anatomical proportions should dictate your final adjustments. Lifters with shorter torsos may find that a standard four-inch leather belt pinches their ribs and hips regardless of placement, making a three-inch belt or a more flexible nylon belt a better option. Experiment with minor positional tweaks during your warm-up sets to find the exact height and angle that allow you to achieve a full range of motion while maintaining a powerful, pain-free brace.
Safety Checks and Stop Conditions for Home Training
When training alone in a home environment, you must establish strict safety protocols to compensate for the absence of a coach or spotter. Before every lifting session, perform a thorough pre-lift inspection of your equipment. Check your lifting belt for signs of wear, such as cracking leather, fraying nylon, or loose stitching. If you use a lever belt, ensure the screws holding the lever mechanism are tight and that the metal prongs engage fully with the belt holes. A sudden belt failure mid-lift can cause an immediate loss of intra-abdominal pressure, putting your spine at risk.
During your sets, pay close attention to physical warning signs that indicate you should abort a lift. If you experience sharp, localized lower back pain, stop the exercise immediately. Additionally, because the Valsalva maneuver temporarily increases blood pressure, you may occasionally experience dizziness, lightheadedness, or visual spots. If you feel faint at any point during a set, safely rack or drop the weight, sit down immediately, and loosen your belt to restore normal circulation.
It is also vital to recognize when fatigue is compromising your lifting mechanics. If you find that you can no longer maintain a strong brace against the belt, or if your spine begins to round despite wearing it, the belt has ceased to be effective. Continuing to lift under these conditions significantly increases your risk of injury. Remember that a lifting belt is an aid to proper form, not a shield against the consequences of technical breakdown. If you experience persistent discomfort, pain, or uncertainty regarding your lifting technique, seek guidance from a qualified fitness professional or medical practitioner.
Frequently Asked Questions (FAQ)
Should I wear a lifting belt for every exercise?
No, you should reserve your lifting belt for heavy, compound movements that place a direct axial load on your spine, such as squats, deadlifts, and overhead presses. Isolation exercises, machine-based movements, and light accessory work do not require the extreme intra-abdominal pressure that a belt helps generate. Training these lighter movements without a belt encourages natural core engagement and helps you build well-rounded, functional stability across all muscle groups.
How do I clean and maintain my leather or nylon lifting belt?
Proper maintenance is essential to prolong the life of your belt, especially in Singapore’s warm and humid climate. After a sweaty home workout, wipe down your leather or nylon belt with a dry or slightly damp microfiber cloth to remove sweat and salt buildup. Avoid leaving your belt in a damp gym bag or a closed, unventilated space, as this can lead to mold growth on leather or persistent odors in nylon. Periodically inspect metal buckles, prongs, or levers for signs of rust, and store the belt in a cool, dry place away from direct sunlight or heat sources.
Can a lifting belt fix my poor lifting form?
A lifting belt cannot correct poor lifting mechanics or compensate for a weak core. If your movement patterns are flawed, wearing a belt will only allow you to load a bad movement pattern with more weight, increasing your risk of injury. You must first master the mechanics of the squat and deadlift, as well as the art of bracing your core naturally, before introducing a belt to enhance your performance.
Community discussion
Share your experience or ask a question. Comments are reviewed before publication.