
Using a small pilates ball for myofascial release is an effective, low-impact way to relieve muscle tension and accelerate post-workout recovery. Unlike rigid foam rollers or dense massage balls, an air-filled pilates ball offers a unique combination of pliability and firm support. This gentle yielding property allows the ball to contour to your body’s natural curves, distributing pressure evenly and reducing the risk of bruising sensitive tissues. By using your own body weight against the ball, you can target deep fascial restrictions, improve local blood circulation, and restore optimal movement patterns.
This versatile tool is particularly beneficial for athletes, runners, and fitness enthusiasts who require targeted recovery without the intense discomfort often associated with harder tools. Whether you are dealing with tight shoulders from desk work or sore calves from running, the small pilates ball can be adjusted to suit your specific pain tolerance. By learning how to position the ball correctly and control your body weight, you can create a highly customized self-myofascial release routine at home.
Preparing for Your Pilates Ball Recovery Session
Before beginning your recovery session, prepare both your equipment and your physical space to ensure a safe and effective experience. First, check the inflation level of your small pilates ball. A ball that is fully inflated will be too hard, making it difficult to balance on and potentially causing unnecessary discomfort. Ideally, the ball should be inflated to approximately 70% to 80% of its capacity, allowing it to give slightly under pressure and mold to your muscle contours.
Products mentioned in this guide
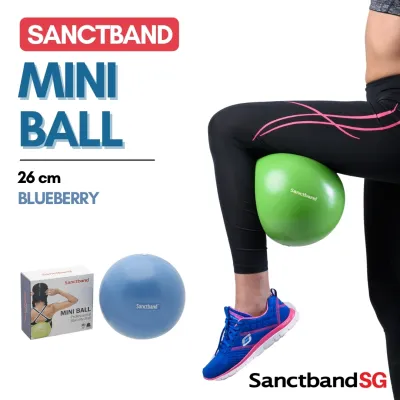
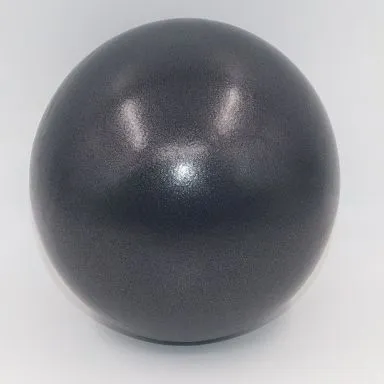
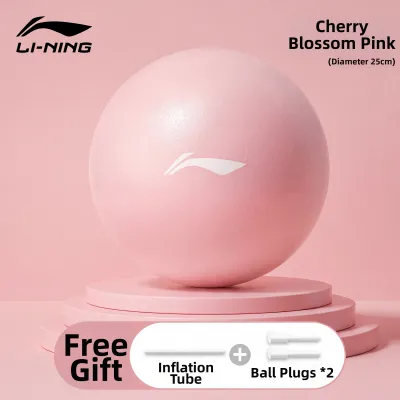
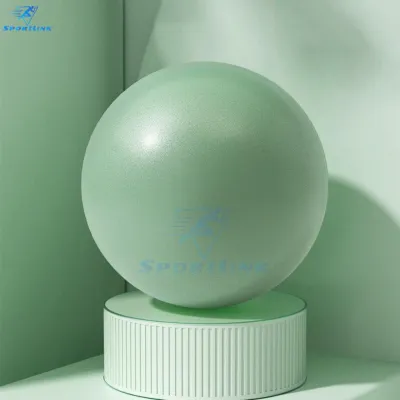
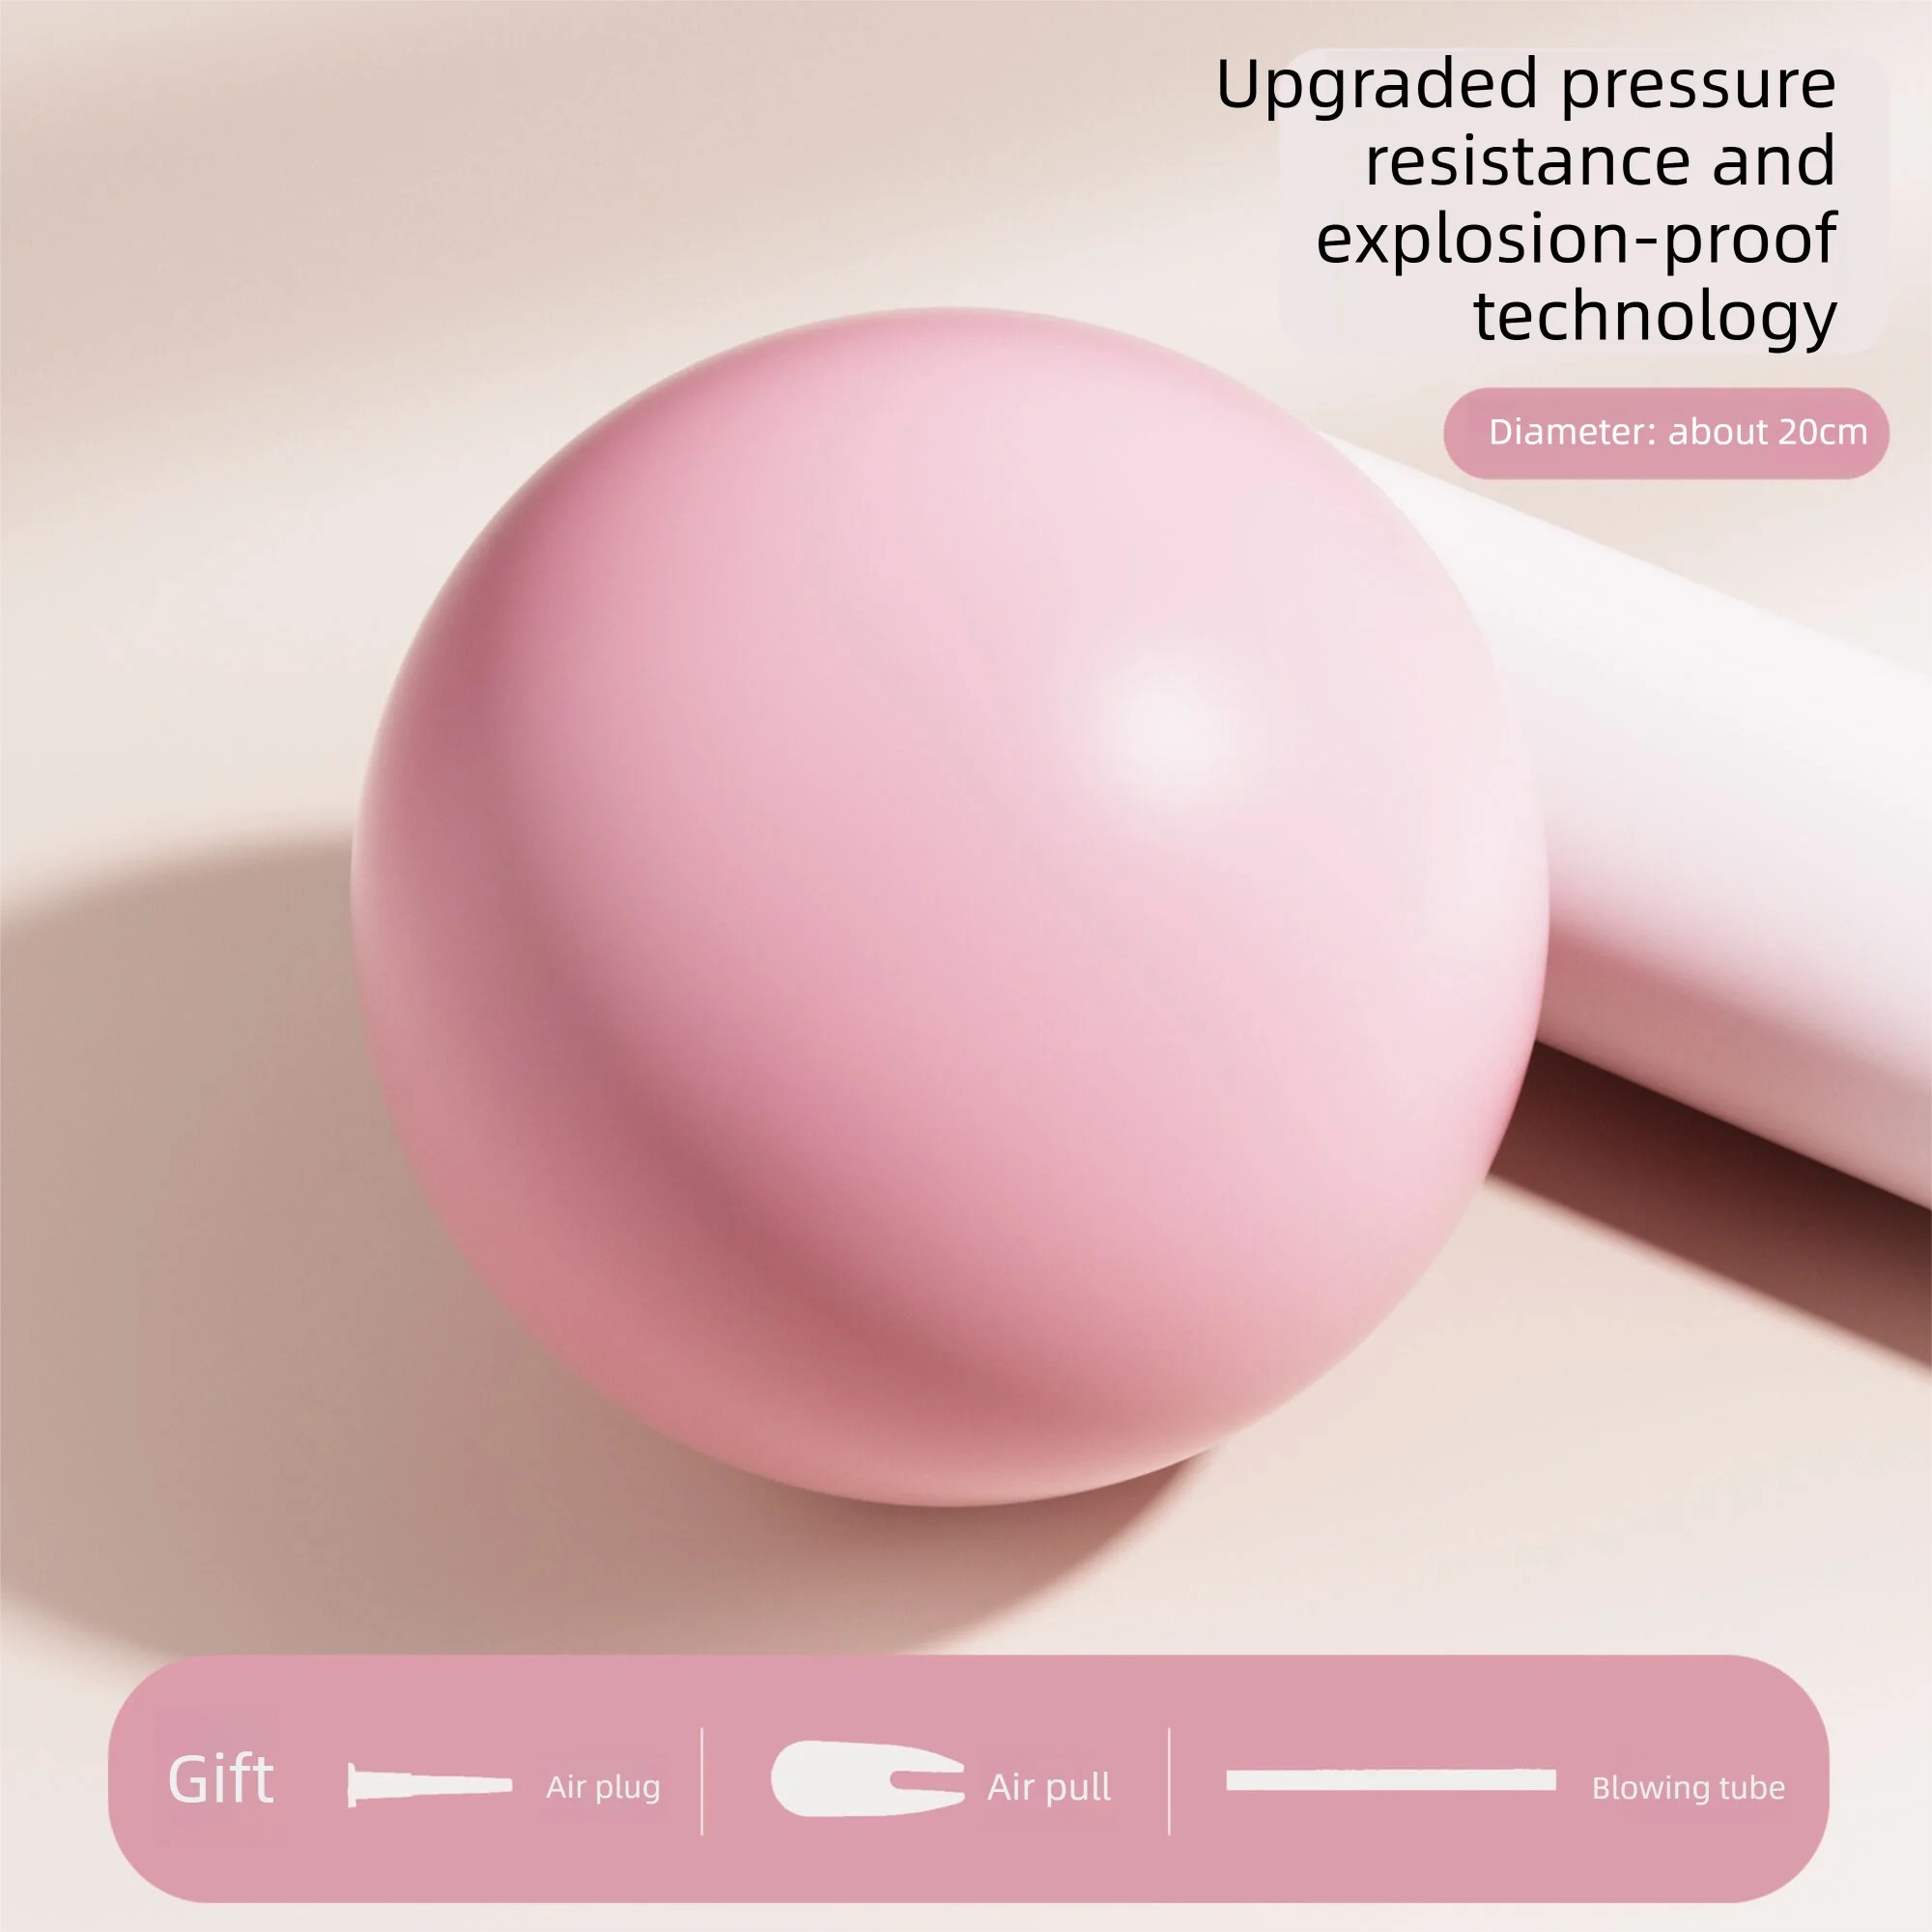
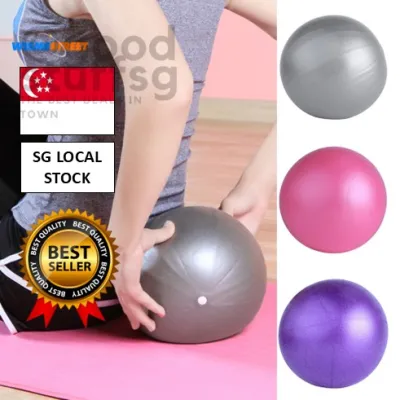
Prices are valid at publication and may change. Please refer to the product page for the latest price.
Next, select a suitable environment for your exercises. A stable, non-slip surface is crucial to prevent the ball from sliding out from under you during movement. A high-quality yoga mat or a clean carpeted floor provides the necessary traction. Avoid practicing on slick hardwood or tiled floors, as the lack of friction can lead to sudden slips, disrupting your focus and potentially causing muscle strain.
Once your space is set up, take a moment to prepare your body. Lie down or sit in a comfortable position, establish a neutral spine, and focus on your breathing. Deep, slow diaphragmatic breathing helps activate the parasympathetic nervous system, signaling your muscles to relax. Attempting myofascial release while your body is tense will cause your muscles to guard, preventing the ball from penetrating into the deeper fascial layers.
Step-by-Step Techniques for Key Muscle Groups
To achieve the best results from self-myofascial release, you must understand the core principles of applying pressure. Rather than rolling rapidly back and forth over a muscle, which can irritate the tissue, focus on slow, deliberate movements. When you locate a tender spot, pause and hold the position. Allow your body weight to sink gradually into the ball, maintaining the pressure for 30 to 60 seconds while breathing deeply until you feel the muscle begin to soften.

Transitioning smoothly between different muscle groups is also key to maintaining a relaxed state. Use your hands, opposite leg, or elbows to support your body weight as you lift and reposition the ball. This mindful transition prevents sudden, jerky movements that can cause muscles to contract defensively. By moving systematically from one area to the next, you can address tension throughout your entire body.
Upper Back and Shoulders
The thoracic spine and shoulder blades are common areas for holding tension, especially after upper-body workouts or long hours of sitting. To target this region, lie on your back with your knees bent and your feet flat on the floor. Gently lift your upper back and place the small pilates ball between your shoulder blade and your spine. Be extremely careful to position the ball on the muscle tissue, avoiding direct contact with the bony spine or the shoulder blade itself.
To control the amount of pressure applied, keep your hips resting on the floor. Slowly open your arm out to the side, or raise it straight up toward the ceiling, and then lower it back down. This movement pattern dynamically opens up the space between your shoulder blade and spine, allowing the ball to reach the deeper rhomboid and middle trapezius muscles. You can also perform small, gentle rocking motions from side to side to massage the area.
As you work through this region, limit your rolling range strictly to the mid-back and thoracic area. Avoid moving the ball up into the cervical spine of your neck, which is highly sensitive and lacks the muscular bulk to support direct pressure. Similarly, do not roll the ball down into your lower back from this position, as the lumbar spine requires a different, more supported approach to avoid strain.
Glutes and Hips
The gluteal muscles and deep hip rotators often become tight and restricted from running, squatting, or prolonged sitting. To target this area, you can choose between seated and supine positions depending on your desired intensity. For a gentler release, lie on your back with your knees bent, lift your hips slightly, and slide the ball under one side of your glutes. For a more intense release, sit directly on top of the ball on the floor, supporting your upper body with your hands behind you.
Once in position, slowly shift your body weight to explore the gluteal region. Move in small, controlled circles or slide slightly from side to side to locate specific trigger points. When you find a particularly tight spot, stop moving and allow your pelvis to heavy into the ball. Take deep, slow breaths, focusing on releasing any holding patterns in your hips and pelvic floor.
While working on the glutes, it is vital to avoid direct pressure on bony landmarks, such as the tailbone or the greater trochanter on the side of your hip. Additionally, be mindful of the sciatic nerve pathway, which runs through the center of the glutes. If you experience a sharp, shooting, or electric sensation down your leg, immediately shift the ball to a different spot, as this indicates direct pressure on a nerve.
Calves and Lower Legs
Tight calves can restrict ankle mobility and affect your overall gait and athletic performance. To release this tension, sit on the floor with your legs extended straight out in front of you. Place the small pilates ball under the thickest part of one calf muscle, known as the muscle belly. Place your hands on the floor behind your hips to support your upper body and control the amount of weight you place on the ball.
Gently slide your hips forward and backward, allowing the ball to roll along the length of the calf muscle. If you feel you need additional pressure to reach deeper tissues, you can cross your opposite leg over the shin of the target leg, adding gentle downward force. To target different angles of the calf, slowly rotate your leg inward and outward, and circle your ankle to engage the deeper soleus muscle.
Always prioritize safety by avoiding sensitive anatomical structures in the lower leg. Do not place the ball directly behind the knee joint, as this area contains major blood vessels and nerves that should not be compressed. Furthermore, avoid applying direct pressure to the lower portion of the Achilles tendon near the heel, where the tissue is highly fibrous and prone to irritation from direct compression.
Safety Guidelines and When to Stop
While self-myofascial release with a small pilates ball is generally safe, establishing clear boundaries is essential to prevent tissue damage. There are several anatomical zones that you must strictly avoid during your sessions. Never apply direct pressure to bones, joints, the front of the neck, or the direct spinal column. These areas do not have the muscular cushioning required to safely absorb pressure, and compressing them can lead to joint inflammation, bruising, or nerve irritation.
It is also crucial to distinguish between productive muscle discomfort and harmful pain. Productive discomfort is often described as a dull, satisfying ache or a sensation of “good tension” that gradually dissipates as you hold the position. In contrast, harmful pain is sharp, sudden, shooting, hot, or localized in a joint. If you feel any sensation that makes you gasp, tense up, or pull away, the pressure is too intense or the ball is positioned incorrectly.
You must recognize the signs that indicate you should stop the exercise immediately. If you experience numbness, tingling, a “pins and needles” sensation, or sudden dizziness, stop using the ball right away. These symptoms suggest that a nerve or blood vessel is being compressed. If you have chronic pain, vascular conditions, or are recovering from a recent injury, always consult a qualified healthcare professional before starting a new myofascial release routine.
Integrating the Pilates Ball into Your Recovery Routine
To maximize the benefits of your small pilates ball, integrate it systematically into your broader fitness and recovery plan. The way you use the ball should depend on your immediate goals. For pre-workout muscle activation, use light pressure and relatively quick, dynamic movements for about 30 seconds per muscle group. This stimulates blood flow, increases joint range of motion, and prepares your nervous system for activity without fatiguing the muscles.
For post-workout recovery or general relaxation, shift your focus to slow, deep pressure. Spend 60 to 90 seconds on each tight area, holding static pressure on tender spots and breathing deeply to encourage tissue elongation and parasympathetic activation. This post-workout application helps reduce muscle soreness and prevents the fascia from tightening up as your body cools down.
For a comprehensive recovery strategy, combine your targeted ball work with general static stretching and proper hydration. Releasing the fascia first makes your subsequent stretches more effective, as the muscle fibers are more receptive to lengthening. Additionally, drinking water after your session supports the rehydration of the fascial tissues, which can become temporarily compressed and dehydrated during myofascial release. Monitor your body’s response over time, starting with two to three sessions per week and adjusting the frequency as your mobility improves.
Frequently Asked Questions (FAQ)
Can I use a small pilates ball directly on my lower back?
Direct pressure on the lumbar spine is not recommended. Unlike the upper back, which is supported and protected by the rib cage, the lower back lacks bony protection for internal organs and is highly susceptible to hyperextension and muscle guarding under direct pressure. Placing a ball directly under the lumbar spine can strain the small joints of the lower back and cause the surrounding muscles to spasm defensively. Instead of targeting the lower back directly, focus on releasing tension in the glutes, hips, and hamstrings. Because these lower body muscles are closely connected to the pelvis, releasing them often provides significant, indirect relief to the lower back without placing the lumbar spine at risk.
How do I clean and maintain my small pilates ball?
Keeping your small pilates ball clean is essential for maintaining hygiene and extending the lifespan of the material. After each recovery session, especially if you have been sweating, wipe the surface of the ball with a damp cloth and a small amount of mild, non-abrasive soap. Avoid using harsh chemical cleaners, bleach, or alcohol-based sprays, as these substances can dry out and degrade the vinyl or PVC material, making it prone to cracking or leaking air. Once cleaned, allow the ball to air dry completely before storing it. Store your ball in a cool, dry place away from direct sunlight, extreme heat sources, and sharp objects to prevent punctures and maintain its structural integrity over time.
Community discussion
Share your experience or ask a question. Comments are reviewed before publication.