
Wrapping your hands correctly is the foundation of safe boxing training. While high-quality boxing gloves provide external cushioning, they cannot stabilize the intricate network of bones and joints inside your hand upon impact. Properly applied elastic bandages—often referred to as Mexican-style hand wraps—act as a supportive sleeve that binds these structures together, reducing the risk of fractures, sprains, and soft-tissue damage.
However, hand wraps and gloves are protective aids, not a substitute for proper punching technique, physical conditioning, or professional coaching. No amount of wrapping can protect a hand that strikes a target with incorrect alignment or excessive force beyond your current physical preparation. Before you step up to a heavy bag or enter the ring, you must learn to check your equipment, recognize your physical limits, and know when to stop and adjust your wraps to prevent injury.
Why Proper Hand Wrapping Matters in Boxing
The human hand is a complex structure composed of 27 small bones, including the delicate metacarpals in the palm and the carpals in the wrist. When you land a punch, the force of the impact travels directly through these small bones and joints. Without support, the force can cause the bones to collapse against each other, leading to painful injuries like a boxer’s fracture or severe wrist sprains. Wrapping binds these bones into a single, cohesive unit, distributing the shock of each blow across a larger surface area and aligning the wrist with the forearm to prevent hyperextension.
Products mentioned in this guide
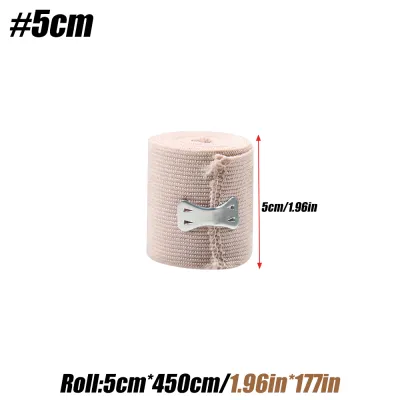
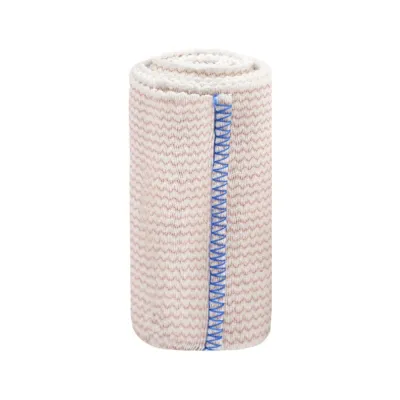
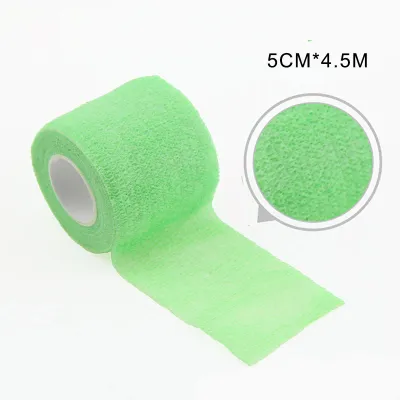
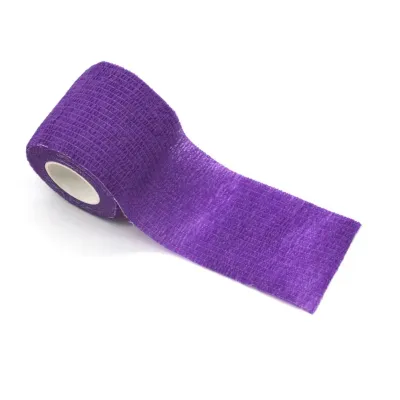
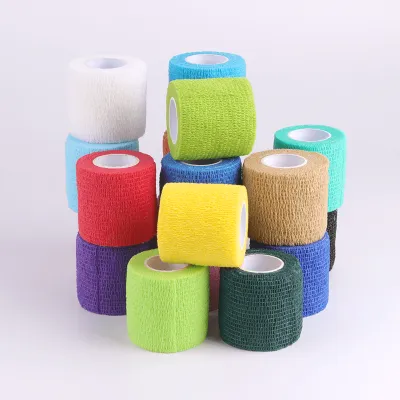
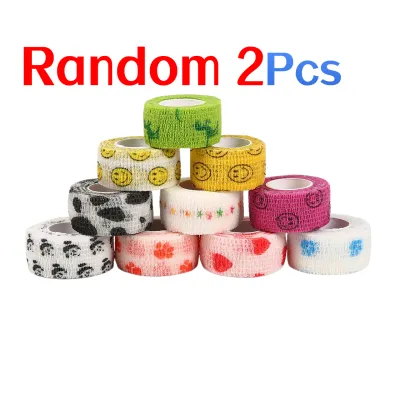
Prices are valid at publication and may change. Please refer to the product page for the latest price.
Elastic bandages offer a distinct mechanical advantage over traditional, non-stretch cotton wraps. Because they contain elastic fibers like spandex or elastane, these wraps stretch and conform closely to the unique contours of your hand. This elasticity allows for a snug, customized fit that moves with your hand as you open and close your fist. Traditional cotton wraps, by contrast, are completely rigid; while they offer excellent structural support, they require highly precise wrapping techniques to prevent them from slipping or bunching during a workout.
Despite their benefits, elastic wraps require careful monitoring during training. If a wrap begins to slip, bunch up inside your glove, or cause joint pain, you must stop training immediately to re-wrap your hand. Ignoring these warning signs can lead to friction blisters, restricted blood flow, or joint misalignment, leaving your hand vulnerable to impact injuries.
Preparing Your Elastic Bandage and Hands
Before you begin wrapping, inspect your elastic bandages thoroughly to ensure they are in safe working condition. Over time, repeated washing and tension can cause the elastic fibers to break down, leaving the wrap limp and unable to provide adequate compression. Check for fraying edges, tears, or a worn-out hook-and-loop closure that might come undone mid-workout. If the wrap feels stretched out or fails to snap back when pulled, it is time to replace it with a fresh pair.

Your hands must be completely clean and dry before you apply any wraps. Trapping sweat, dirt, or moisture beneath layers of tightly wrapped elastic fabric creates an ideal environment for skin irritation, chafing, and bacterial growth. If you have just washed your hands or applied lotion, dry them thoroughly with a towel and allow any moisture to evaporate completely to prevent the wrap from slipping out of place during your session.
Unroll your wrap and identify its key components so you can orient it correctly from the start. Most elastic wraps feature a thumb loop at one end and a hook-and-loop fastening strip at the other. Look for a printed label or indicator near the thumb loop that reads “this side down” or “this side up.” Placing this side against your skin ensures that as you reach the end of the wrap, the fastening strip will face the correct direction to secure flat against your wrist without twisting.
Step-by-Step Hand Wrapping Technique
Executing a proper wrap requires a deliberate hand posture and careful tension management. Keep your hand in a relaxed position with your fingers slightly spread throughout the entire wrapping process. Spreading your fingers ensures that the wrap accommodates the natural expansion of your hand when you clench your fist, preventing the bandage from becoming painfully tight during training.
Managing the tension of the elastic material is the most critical skill to master. You want to pull the wrap snug enough to feel supportive, but you must avoid stretching the elastic to its absolute limit. Over-stretching the bandage creates a tourniquet effect that can restrict blood circulation, leading to numbness, cold fingers, and cramping once your hands begin to swell from the exertion of your workout.
Anchoring the Thumb and Wrist
Begin by slipping your thumb through the loop, ensuring the designated “this side down” surface of the wrap is facing your skin. Run the bandage across the back of your hand toward your wrist, rather than across your palm. Wrapping across the back of the hand is a crucial safety step; it ensures that when you make a fist, the wrap pulls tight and supports the wrist, rather than pulling your thumb backward or out of its natural alignment.
Once the wrap reaches your wrist, make three to four complete passes around the joint to establish a solid foundation. Keep your wrist in a neutral, straight position—aligned perfectly with your forearm—as you wrap. Avoid bending your wrist forward or backward during this step, as wrapping a bent joint will lock it into an unstable position, increasing the risk of a sprain when you punch.
The exact number of initial wrist passes depends on your personal comfort and the level of support you require. If you have a history of wrist weakness or are planning a heavy bag session, you may prefer four passes to maximize rigidity. For general pad work or lighter training, three passes are usually sufficient to anchor the wrap securely without adding excessive bulk under your glove.
Padding the Knuckles and Securing the Palm
From the wrist, bring the wrap diagonally across the back of your hand to the outer edge of your pinky knuckle. Wrap the bandage across your knuckles three to four times, creating a thick, protective pad over the metacarpal joints. Ensure the wrap sits flat and covers the knuckles completely, extending slightly down the fingers to protect the primary impact zone.
After padding the knuckles, bring the wrap diagonally back down across the back of your hand to your wrist, forming an “X” shape. This diagonal pattern is essential for structural integrity, as it anchors the knuckle pad to the wrist and prevents the wrap from sliding up your hand during impact. Keep the tension firm but comfortable, ensuring you can still close your fingers into a tight fist.
Next, secure the knuckle pad by threading the wrap between your fingers. Start by bringing the wrap from the wrist up and through the space between your pinky and ring finger. Run the wrap back down to the wrist to anchor it, then repeat the process for the space between your ring and middle fingers, and finally between your middle and index fingers. This step keeps the knuckle padding flat and prevents the individual layers from bunching up or shifting when you punch.
Locking the Wrist and Finishing the Wrap
Once the fingers are secured, bring the wrap back down to your wrist to prepare for the final locking passes. To protect the thumb joint, run the wrap diagonally from the wrist, around the thumb once, and then back down to the wrist. This “thumb lock” stabilizes the thumb against the side of the hand, reducing the risk of it catching on an opponent’s gear or bending backward upon impact.
Bring the remaining length of the wrap back to your wrist and make several final passes to lock the entire structure in place. The wrist is the ideal location to finish the wrap because it can accommodate the extra bulk of the fastening mechanism without affecting your grip or knuckle protection.
Secure the hook-and-loop closure firmly around your wrist, ensuring it lies completely flat. The closure should not dig into your skin, nor should it extend past the edge of the wrap where it could scratch your skin or damage the inner lining of your boxing gloves. Verify that your thumb remains mobile and properly aligned, allowing you to form a natural fist without resistance.
Verifying Fit, Tension, and Safety
Once you have finished wrapping both hands, you must perform a series of physical checks to verify the fit and safety of your wraps before putting on your gloves. Start with the “fist test”: clench your hand into a tight fist. The wrap should feel firm, supportive, and secure across your knuckles and wrist, but it should not pinch your skin or cause pain. When you open your hand, the wrap should feel relatively relaxed and comfortable.
Pay close attention to any signs of restricted blood circulation. If you experience tingling, numbness, coldness in your fingertips, or if your skin begins to turn pale or blue, your wraps are too tight. If any of these symptoms occur, do not attempt to “work through it.” Remove the wraps immediately, allow your circulation to return to normal, and re-wrap your hands with lighter tension.
Keep in mind that your hands will naturally swell during an intense workout due to increased blood flow and physical exertion. A wrap that feels perfectly snug when you are resting in a cool room may become restrictively tight ten minutes into a heavy sparring session. Always factor in this natural swelling when setting your initial tension, and choose a fit that allows for slight expansion inside your boxing gloves.
Maintaining and Washing Elastic Bandages
Proper maintenance is essential to preserve the hygiene, elasticity, and lifespan of your hand wraps. After every training session, remove your wraps immediately and hang them up to air-dry completely. Never leave damp wraps crumpled inside a dark, unventilated gym bag, as this creates a breeding ground for mold, mildew, and persistent odors that can ruin the fabric and irritate your skin.
Wash your wraps regularly to remove sweat, oils, and bacteria. To prevent the long bandages from tangling with other clothing or wrapping around your washing machine’s agitator, place them inside a mesh laundry bag before washing. Use cold water and a mild detergent, and avoid fabric softeners, which can break down the elastic fibers over time.
Always air-dry your wraps by hanging them up or laying them flat on a clean surface. Do not put elastic wraps in a clothes dryer, as the high heat will destroy the spandex or elastane fibers, causing the wraps to lose their elasticity, shrink, or warp permanently. Replace your wraps as soon as you notice they no longer snap back after being stretched, or if the hook-and-loop closures fail to hold securely.
Frequently Asked Questions (FAQ)
Can I use elastic bandages instead of traditional cotton hand wraps?
Yes, elastic bandages (often called Mexican-style wraps) are highly popular and widely used as an alternative to traditional cotton wraps. The primary difference lies in the stretch: elastic wraps conform more easily to the contours of your hand, making them easier for beginners to apply securely without restricting movement. They also provide a slightly more compressed, snug feel. Traditional cotton wraps are completely rigid and offer excellent structural support, but they require a highly precise wrapping technique to prevent slipping and do not stretch to accommodate hand swelling during training.
How long should an elastic hand wrap be for boxing?
For most adults, a standard length of 180 inches (approximately 4.5 meters) is highly recommended. This length provides enough material to make multiple supportive passes around the wrist, knuckles, and individual fingers, ensuring comprehensive protection. If you have smaller hands, a 120-inch wrap may be sufficient to avoid excessive bulk inside your gloves. Conversely, those with larger hands or anyone seeking extra wrist and knuckle padding should stick to the 180-inch standard to ensure no critical areas are left unsupported.

Community discussion
Share your experience or ask a question. Comments are reviewed before publication.