
Using a hydration backpack is a highly convenient way to maintain your stamina and hydration levels during long-distance trail runs, cycling sessions, or wilderness hikes. However, filling the bladder with anything other than plain water requires careful consideration to avoid damaging your gear. You can safely use clear, fully dissolvable electrolyte tablets or low-sugar powders in your hydration bladder, but you must avoid thick energy formulas, pulpy juices, and dairy products. These heavier substances quickly clog the narrow delivery tube, jam the bite valve, and create a breeding ground for mold and bacteria.
To protect your equipment, you need to understand how different drink formulations interact with the plastic, silicone, and narrow pathways of your hydration system. Choosing the right drink and maintaining a strict cleaning routine will keep your water flowing smoothly and prevent lingering, unpleasant tastes on your next outdoor adventure. By matching your hydration choices to your specific gear specifications, you can enjoy the benefits of electrolyte replenishment without the frustration of a ruined bladder.
Understanding Hydration Bladder Compatibility
Before pouring any sports drink into your hydration backpack, your first step should always be to consult the manufacturer’s care and use manual. Different brands use proprietary plastic blends, specialized films, and unique valve designs, some of which are strictly rated for water only. Using unapproved liquids can degrade the bladder material, void your warranty, or cause the seams to fail under pressure during a strenuous activity.
Products mentioned in this guide
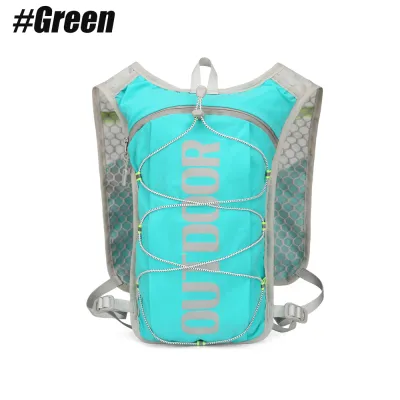
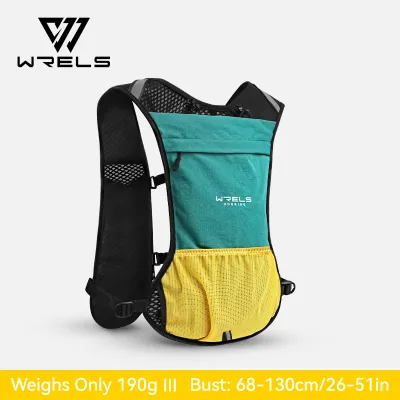
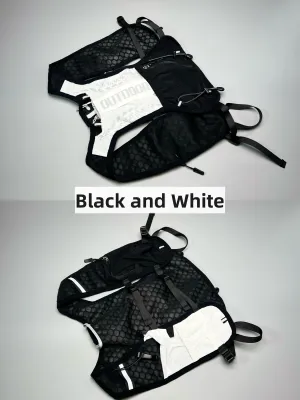
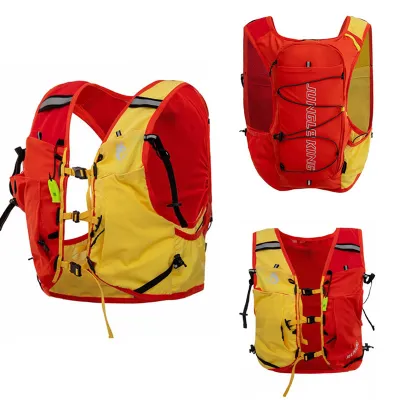
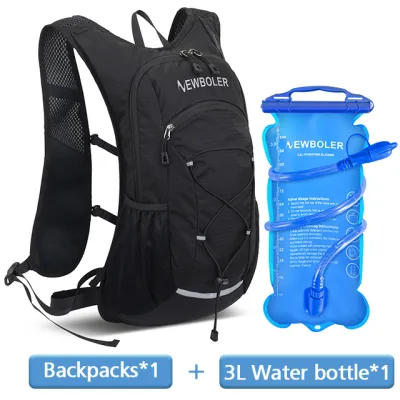
Prices are valid at publication and may change. Please refer to the product page for the latest price.
Certain ingredients are notorious for causing physical blockages and chemical degradation inside hydration systems. High concentrations of sugar, natural fruit pulp, protein powders, and complex carbohydrates like maltodextrin do not remain fully suspended in water over long periods. As these ingredients settle, they form a sticky film that restricts water flow and glues the delicate parts of your bite valve together, making it difficult to drink when you need it most.
In contrast, clear electrolyte mixes are designed to dissolve completely without leaving suspended particulates. These formulations typically rely on simple mineral salts like sodium, potassium, and magnesium, which integrate fully into the water molecules. Understanding this difference between a clean, dissolved solution and a thick, suspended mixture is key to keeping your delivery tube clear and ensuring your equipment performs reliably in the field.
Choosing Safe Drink Formulations for Your Hydration Backpack
When selecting a hydration supplement for your trail runs or long-distance cycling, prioritize effervescent electrolyte tablets or highly soluble powders. These products are formulated to leave virtually no residue once fully dissolved in water, providing the necessary hydration support without the heavy syrups that coat the interior walls of the bladder. They are designed to mix cleanly, ensuring that every sip delivers a consistent concentration of minerals without clogging the system.

Opting for low-sugar or sugar-free formulations is highly beneficial for the longevity of your hydration system. Sugar acts as an adhesive inside the tube and valve, making it incredibly difficult to flush out completely with simple rinsing. Furthermore, sugar provides an immediate food source for bacteria and mold, which can colonize the dark, damp interior of the tube within a few hours of exposure to warm outdoor temperatures, creating health risks and unpleasant odors.
You must completely avoid dairy-based recovery drinks, meal replacement shakes, and pulpy fruit juices in a standard hydration bladder. The fats and proteins in dairy and recovery shakes will spoil rapidly when exposed to body heat inside a backpack, leading to dangerous bacterial growth. Additionally, even the finest fruit pulp will accumulate in the narrow elbow joints of the tubing and completely block the flow of liquid, rendering the system useless mid-workout.
Mixing and Loading Your Hydration Backpack Safely
To prevent immediate clumping and clogs, never pour dry powder directly into your hydration bladder. Instead, mix the drink thoroughly in a separate clean pitcher or shaker bottle first. Use lukewarm water to help the powder dissolve completely, stirring or shaking until no visible grains or sediment remain at the bottom of the container before transferring the liquid.
Always follow the exact water-to-powder ratio specified on the product label. Creating an over-concentrated mixture in an attempt to get more electrolytes can lead to supersaturation, where the excess powder cannot dissolve and settles into a thick paste. This paste will settle directly into the exit port at the bottom of the bladder, blocking the entrance to the tube before you even begin your activity and making it difficult to draw liquid.
Once your drink is mixed and loaded, take steps to keep the hydration backpack as cool as possible during your excursion. In warm climates, such as during a humid afternoon run in Singapore, heat accelerates the fermentation of sugars and the growth of bacteria. You can insert ice cubes made from clean water into the bladder, or use an insulated bladder sleeve to maintain a lower temperature, which slows down spoilage and keeps your drink refreshing.
Cleaning Your Bladder to Prevent Lingering Tastes and Mold
A critical step in using sports drinks in a hydration bladder is cleaning the system immediately after your activity. Do not let the backpack sit in your car, gear bag, or laundry basket overnight with sports drink residue inside. Flush the entire system, including the delivery tube and the bite valve, with warm running water until all traces of color, sweetness, and odor are completely gone.
For a thorough clean, use manufacturer-approved cleaning tablets or a mild, unscented dish soap. Avoid harsh household chemicals, bleach, or boiling water, as these can warp the plastic, degrade the silicone seals, and leave toxic residues behind. Gently scrub the interior of the bladder with a soft sponge or a specialized bladder brush, paying close attention to the corners and the seal around the opening where residue tends to accumulate.
After washing, you must dry the entire system completely to prevent mold from growing in the residual moisture. Hang the bladder upside down on a dedicated drying rack, or insert a clean kitchen whisk or plastic hanger inside to keep the bladder walls from sticking together and trapping moisture. Hang the tube vertically so that gravity can pull any remaining water droplets out of the bite valve, ensuring a dry environment.
Troubleshooting Clogs and Stubborn Odors
If you experience a sudden drop in water flow, you likely have a blockage in the delivery tube or bite valve. To clear this, disassemble the tube from the bladder and use a specialized, flexible hydration tube brush to scrub the interior walls. Gently flushing warm water through the disconnected tube can also help dislodge stubborn clumps of dried sports drink without damaging the delicate silicone components.
Stubborn odors and lingering sweet tastes can often be neutralized using a simple baking soda solution, provided this method is permitted by your bladder’s manufacturer. Mix two tablespoons of baking soda with warm water inside the bladder, shake it to coat all surfaces, and let it soak for a few hours before rinsing thoroughly. This helps lift the organic compounds that cause persistent smells without damaging the plastic or leaving a chemical aftertaste.
Despite your best efforts, hydration bladders do have a limited lifespan, especially when regularly filled with sports drinks. If you notice permanent discoloration, black mold spots that do not wash away, or a persistent plastic or sour taste that survives multiple cleanings, the material has degraded. For your health and safety, it is time to replace the bladder and tube assembly to ensure clean hydration on your next trip.
Frequently Asked Questions (FAQ)
Can I put energy gels directly into my hydration bladder?
No, you should never put concentrated energy gels directly into a hydration bladder. Energy gels are highly viscous and designed to be consumed directly from their packaging; they do not dissolve easily in cold water. Attempting to mix them inside a bladder will result in thick, sticky clumps that will immediately clog the exit port, tube, and bite valve. Instead, carry your energy gels in your pockets or use specialized, wide-mouth soft flasks designed specifically for thick gel consumption.
How long can a mixed sports drink sit in the bladder safely?
A mixed sports drink should not sit in a hydration bladder for more than four to six hours, especially in warm or humid conditions. The combination of moisture, warmth, and sugars creates a favorable environment for rapid bacterial multiplication and fermentation. To minimize health risks and prevent stubborn odors, empty any remaining sports drink as soon as your workout is complete, and rinse the entire system thoroughly with clean water.
Community discussion
Share your experience or ask a question. Comments are reviewed before publication.