
Finding the ideal bike magnetic water bottle requires looking beyond brand names to evaluate how specific designs balance magnetic pull force with thermal performance. The most suitable bottle for your ride is one that matches your frame geometry, terrain, and temperature needs, verified through manufacturer-stated weight capacities, mechanical locking aids, and insulation materials. Rather than relying on universal brand claims, cyclists must compare specific mounting mechanisms and double-wall vacuum specifications against their typical riding conditions.
Traditional bottle cages can sometimes be difficult to access on compact frames or full-suspension mountain bikes. Magnetic mounting systems solve this by allowing the bottle to be released with a sideways twist or slide, requiring far less clearance than pulling a bottle straight up out of a standard cage. However, because a full water bottle is heavy and subjected to constant road or trail vibrations, understanding how to evaluate attachment strength and thermal insulation is key to preventing lost bottles and warm drinks.
Evaluating Magnetic Attachment Strength and Safety
When assessing a bike magnetic water bottle, the primary concern is whether the connection can withstand the forces of your specific cycling discipline. Manufacturers typically specify a maximum weight capacity or a magnetic pull force rating for their mounting systems. It is essential to verify that these ratings can comfortably support the weight of a fully filled bottle, especially when factoring in the downward acceleration forces experienced when riding over bumps or dropping off curbs.
Products mentioned in this guide
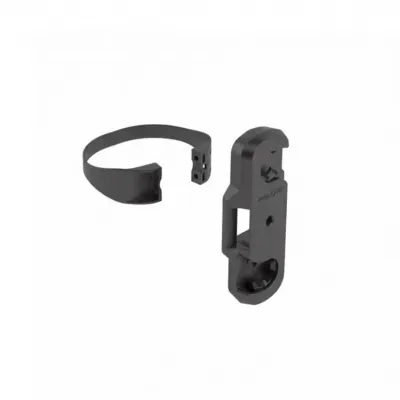
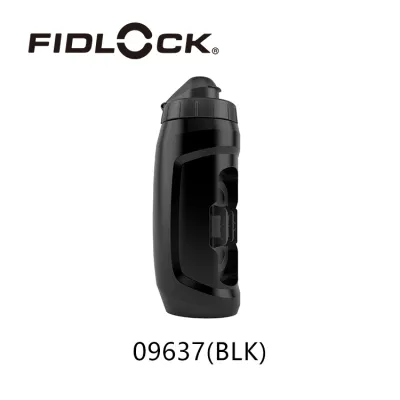
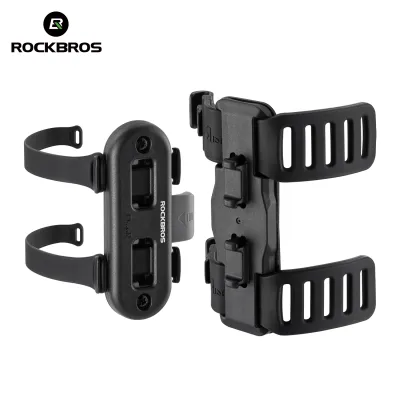
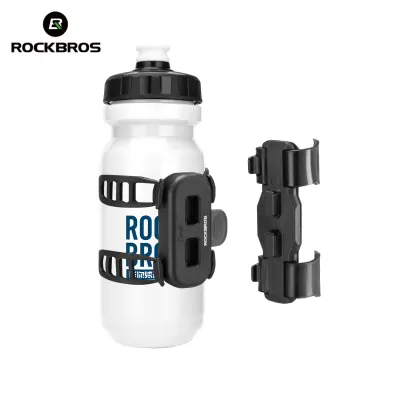
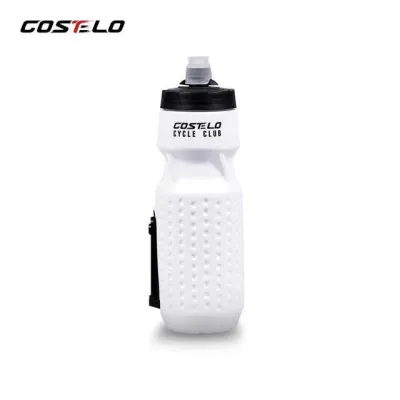
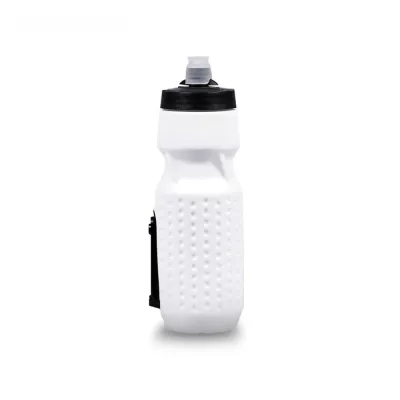
Prices are valid at publication and may change. Please refer to the product page for the latest price.
The mounting mechanism itself generally consists of a frame-mounted base and a corresponding connector integrated into the bottle. Some systems use a universal frame mount that bolts directly into standard bottle cage bosses, while others offer strap-on adapters for frames without bosses or with unconventional tube shapes. You must verify that the mount’s physical dimensions and bolt spacing align correctly with your bike frame’s geometry to ensure a flush, stable installation that does not wobble under load.
Safety features are another critical consideration, particularly for high-speed road riding or technical trail riding. High-quality magnetic systems often incorporate a mechanical locking aid—such as interlocking plastic tabs or a physical channel—alongside the magnets. This hybrid design ensures that while the magnet guides the bottle into place, a mechanical interface bears the shear forces during impacts, preventing the bottle from launching forward during sudden braking or a crash.
Over time, high-frequency vibrations from rough asphalt, gravel, or trail obstacles can test the limits of any magnetic connection. If a system relies solely on magnetic attraction without a mechanical backup, the bottle is more likely to shake loose when subjected to sustained chatter. Cyclists should look for systems where the magnetic force acts as an alignment guide and a secondary lock, ensuring the bottle remains anchored even as the bike vibrates continuously.
Assessing Thermal Insulation for Cycling Conditions
Keeping your hydration cold during long rides requires a close look at the bottle’s insulation technology. Double-wall vacuum insulation is a highly effective design for temperature retention, utilizing a sealed vacuum gap between two layers of stainless steel to prevent heat transfer. While this design keeps liquids cold for hours, it does add noticeable weight and bulk compared to single-wall plastic alternatives, which is a trade-off performance-oriented road cyclists must weigh carefully.

For those seeking a lighter option, some manufacturers offer foam-lined plastic bottles that provide moderate thermal protection without the weight penalty of steel. However, these foam layers are generally less effective at blocking heat transfer over extended periods, making them better suited for shorter rides or milder climates. When evaluating these options, check the manufacturer’s estimated insulation runtime and compare it against your typical ride duration to ensure your water stays refreshing.
The design of the lid and spout is equally important for maintaining temperature and preventing leaks on the move. Continuous road vibrations and inverted positions can cause inferior valves to drip, which not only wastes water but can also make your frame sticky. Look for bottles featuring self-sealing jet valves, locking caps, or dust covers that protect the drinking surface from trail grime while maintaining a tight, reliable seal under pressure.
Handling a bottle while riding requires a secure grip, especially when wearing full-finger cycling gloves or dealing with sweaty hands in humid conditions. The exterior finish of the bottle should feature a textured surface, a rubberized sleeve, or an ergonomic shape that allows for easy extraction and replacement. Additionally, review the manufacturer’s care instructions to ensure that washing the bottle—especially in a dishwasher—will not compromise the vacuum seal or degrade the exterior grip material over time.
Key Specifications to Compare Across Brands
To make an objective decision without relying on marketing hype, you should compile a checklist of verifiable technical specifications directly from official manufacturer documentation. Start by comparing the empty weight of the bottle and mount assembly, as heavy steel insulated bottles can add significant weight to your setup. Next, verify the exact fluid capacity and cross-reference it with the system’s rated maximum load capacity to ensure the mount is engineered to carry that specific volume safely.
Warranty terms offer valuable insight into a manufacturer’s confidence in their product’s durability. Look for warranties that explicitly cover both the magnetic mounting hardware and the bottle’s vacuum seal integrity. A robust warranty that protects against premature magnet demagnetization, adhesive failure, or seal degradation indicates a product built to withstand the rigors of daily cycling.
It is also important to check whether the magnetic connector on the bottle is permanently integrated or if it uses a removable sleeve. A removable system provides greater versatility, allowing you to slide the magnetic connector off and use the bottle in a standard cage on another bike if needed. Conversely, a permanently integrated connector often provides a sleeker profile and a more secure, rattle-free connection but limits the bottle’s compatibility to its proprietary mount.
Finally, always verify the physical clearance requirements specified by the manufacturer. Some magnetic bases protrude further from the frame than standard cages, which can lead to the bottle rubbing against the frame tubes, rear suspension linkages, or your knees while pedaling. Checking these dimensions beforehand prevents cosmetic damage to your bike’s paintwork and ensures a comfortable, unobstructed pedaling motion.
Decision Framework: Matching the Bottle to Your Ride
Selecting the right magnetic water bottle system ultimately depends on your primary cycling environment and equipment setup. If your rides consist of rough gravel paths, singletrack trails, or poorly maintained cobblestones, your priority must be attachment security. For these conditions, select a heavy-duty mount that combines strong magnets with a robust mechanical locking mechanism, even if it adds a few extra grams to your overall setup.
For long-distance road cyclists who prioritize cold hydration above all else, a double-wall vacuum insulated stainless steel bottle is a highly suitable choice. The added weight of the steel construction is less of a factor on smooth pavement, where high-frequency impacts are minimal and the primary challenge is battling ambient heat over several hours. Ensure the magnetic mount is rated for the heavier weight of a steel bottle to prevent accidental detachment on occasional road seams.
However, a magnetic bottle system may not be suitable for every bicycle or rider. If your frame lacks standard bottle cage bosses and has highly asymmetrical or extremely thick carbon tubes, installing a secure adapter can be difficult or impossible. Additionally, if you ride an ultra-lightweight climbing bike where every gram matters, the combined weight of the magnets, mounting hardware, and an insulated bottle may exceed your weight budget, making a traditional lightweight carbon cage and plastic bottle a more practical choice.
Before finalizing your purchase, always verify that the magnetic system is explicitly approved for use with your specific frame material. When installing the adapter bolts into carbon fiber frame bosses, you must use a calibrated torque wrench to adhere strictly to the manufacturer’s torque specifications—typically measured in Newton-meters (Nm). Exceeding these limits can easily crush the internal threaded inserts or damage the surrounding carbon layup, leading to costly frame repairs.
Frequently Asked Questions (FAQ)
Can I use a magnetic bike bottle on a carbon fiber frame?
Yes, you can use a magnetic bike bottle on a carbon fiber frame, but you must take specific precautions during installation. Ensure there is adequate physical clearance between the magnetic mount, the bottle, and the frame tubes to prevent any rubbing that could wear down the frame’s protective clear coat or damage the carbon fibers. Always use a torque wrench to tighten the mounting bolts to the exact torque specification recommended by your frame manufacturer, as over-tightening can strip or crush the threaded bosses embedded in the carbon layup.
How do I clean the magnetic base without weakening the magnet?
To clean the magnetic base safely, avoid using harsh chemical solvents, degreasers, or boiling water, as extreme heat and strong chemicals can degrade the protective plastic housing or dissolve the adhesives holding the magnets in place. Instead, wash the mount with mild dish soap, warm water, and a soft brush. Because magnets naturally attract trail dust, iron filings, and metallic debris, regularly inspect the mounting surfaces and wipe them clean with a microfiber cloth to ensure a flush, secure connection that maintains maximum holding strength.

Community discussion
Share your experience or ask a question. Comments are reviewed before publication.