
To choose a water bottle holder that fits your bike frame, you must match the holder’s mounting style and entry design to your frame’s geometry, available clearance, and bolt-hole locations. Standard road bikes with large open triangles easily accommodate classic top-loading holders, whereas full-suspension mountain bikes, compact frames, and folding bikes often require side-loading holders or alternative strap-on mounts to prevent the bottle from hitting the frame tubes or suspension components. Measuring your frame’s inner dimensions and identifying your bike’s specific mounting points before purchasing ensures a secure fit that will not interfere with your pedaling or control.
Understand Your Bike Frame Geometry and Mounting Points
Bike frames come in many shapes, directly impacting where and how you can mount a water bottle holder. Traditional road bikes feature a classic double-triangle design with ample open space, usually allowing you to mount two standard water bottle holders on the down tube and seat tube without clearance issues.
Modern mountain bikes often feature sloping top tubes and rear shock absorbers within the front triangle. This extra hardware significantly reduces available space, often leaving room for only one small bottle or forcing the mounting points to the underside of the down tube.
Products mentioned in this guide
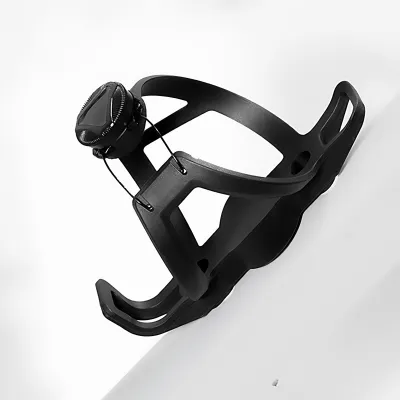
1 Lazada user ratings
hv not fix on bike
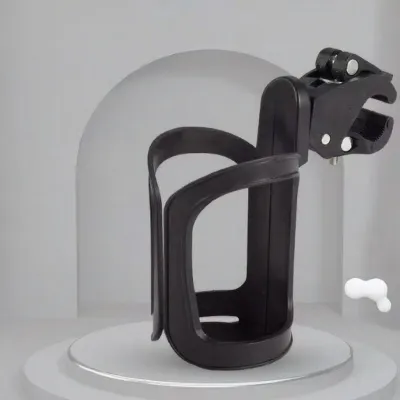
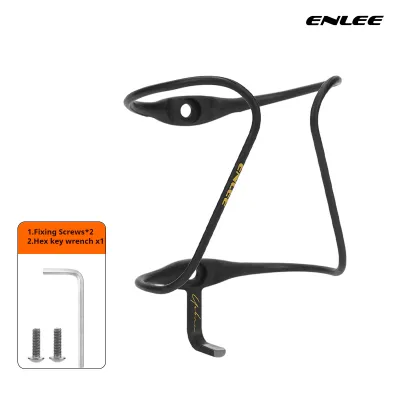
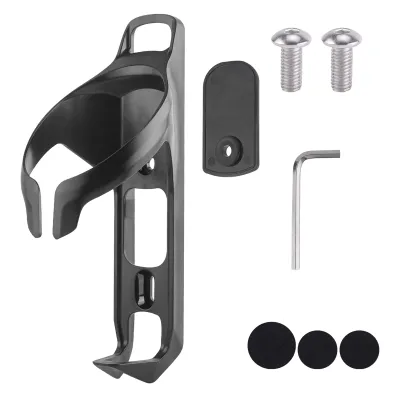
1 Lazada user ratings
🔌Compatibility:good
Prices are valid at publication and may change. Please refer to the product page for the latest price.
Folding bikes require a frame that collapses, meaning any mounted accessory must not interfere with folding hinges. Step-through frames lack a traditional top tube, limiting structural areas for mounting holes and often requiring alternative setups.
To determine baseline compatibility, look for standard mounting holes (braze-on mounts) on your frame. These threaded holes are typically spaced exactly 64 millimeters (about 2.5 inches) apart, commonly located on the down tube and seat tube.
Check for internal cable routing ports near the mounting holes, as exiting cables can press against a holder. Additionally, compress any rear suspension fully to verify that moving linkages will not collide with a mounted bottle.
Measure Your Frame Triangle for Bottle Clearance
Measuring your frame’s inner triangle is crucial to ensure the holder and bottle fit without hitting the frame. Do not rely on visual estimation, as even a few millimeters of clearance can make the difference between a functional setup and a rubbing bottle.

Use a flexible measuring tape to measure the available length along the down tube and seat tube from the center of each mounting bolt to the nearest frame tube, weld, or suspension component. This gives you the maximum physical footprint available for the holder.
Next, account for the vertical and horizontal clearance required to insert and remove the bottle. A standard bottle requires several centimeters of extra space above the holder to slide out, which is often highly restricted on compact road, gravel, or full-suspension frames.
To calculate this, measure the total height of your water bottle and add 2 to 3 centimeters for the physical act of pulling it upward. If the distance between your mounting bolts and the top tube or rear shock is shorter than this combined measurement, a traditional top-loading holder will not work.
Also consider external clearance zones. If your frame has mounting holes on the underside of the down tube, measure the distance to the front tire when the suspension fork is fully compressed to ensure the tire does not rub against the bottle during impacts.
Finally, check clearance around the crankset. A holder that is too wide, or a bottle that sits crookedly, can rub against the crank arms or interfere with your knees. Ensure the holder keeps the bottle centered along the frame’s centerline to maintain an unobstructed pedaling motion.
Match the Holder Style to Your Frame Constraints
Once you understand your frame’s measurements, you can select a holder style that matches these constraints. The two primary designs are top-loading and side-loading holders, and choosing the correct one is the most effective way to overcome tight space limitations.
Top-loading holders are the traditional choice, requiring you to slide the bottle straight down. These are highly suitable for road and hybrid frames with plenty of vertical space below the top tube, offering excellent security and easy access.
Side-loading holders allow you to insert and remove the bottle from the side at an angle. This design is essential for compact frames, full-suspension mountain bikes, and frames equipped with frame bags. Choose between left-entry, right-entry, or ambidextrous models to match your dominant hand and frame configuration.
The holder’s material also affects durability, weight, and grip. Aluminum and steel alloy holders are durable, cost-effective, and slightly bendable, allowing you to manually adjust the grip tension by gently squeezing or spreading the cage arms to fit different bottle diameters.
Composite and plastic holders are lightweight, corrosion-resistant, and maintain a consistent grip, though they cannot be manually adjusted. Carbon fiber holders are the lightest option, popular for competitive riding, though they generally cost more and can be susceptible to damage from heavy impacts.
For non-standard bottle shapes, such as insulated flasks or wide-mouth camping bottles, look for adjustable holders featuring straps, dial-tightened cages, or expandable designs. These specialty holders secure different diameters safely, though they are typically heavier and bulkier than standard models.
Alternative Mounting Solutions for Frames Without Standard Holes
If your bike frame lacks standard mounting holes, or if the inner triangle is occupied by suspension components or frame bags, several reliable alternative mounting solutions can secure a water bottle holder to other parts of your bicycle.
Clamp-on adapters are a versatile option for frames without pre-drilled holes. These adapters use rubber-lined straps, plastic clamps, or zip-tie systems to wrap around your frame tubes. The rubber lining prevents the adapter from slipping under the weight of a full bottle while protecting your paint from scratches.
Seatpost mounts clamp directly to your seatpost or saddle rails, positioning one or two holders behind your seat. This keeps the main frame triangle completely clear, which is popular for triathletes and folding bike users, though it requires reaching behind your back to access your water.
Handlebar and stem mounts position the water bottle directly in front of you, making them highly accessible for commuter and folding bikes. These mounts clamp onto your handlebar tube or stem, holding the bottle upright. This setup is convenient but adds weight to your steering, which can slightly affect handling.
When using alternative mounting systems, always verify the manufacturer’s specified weight limits. A full 750 ml water bottle weighs approximately 0.8 kilograms, and riding over bumps multiplies this effective weight. Ensure the mount is rated to handle these dynamic forces to prevent it from slipping or breaking mid-ride.
Additionally, check that alternative placements do not interfere with essential functions. Handlebar-mounted bottles must not block your view, pinch cables, or interfere with steering. Seatpost-mounted bottles must clear the rear tire when the suspension compresses and must not block rear safety lights.
Step-by-Step Installation and Fit Verification
Installing a water bottle holder is straightforward, but doing it correctly prevents annoying rattles, loose bolts, and frame damage. Before you begin, gather a 3mm or 4mm hex key and a small tube of bicycle grease or medium-strength threadlocker.
Start by cleaning the area around the frame’s mounting eyelets with a clean rag. Inspect the threads to ensure they are clean and undamaged; if you encounter resistance when inserting a bolt, do not force it, as you could strip the delicate threads.
Apply a small dab of grease or medium-strength threadlocker to the bolt threads. This step is essential because these bolts are highly exposed to sweat and road spray, which can cause them to seize over time. Grease prevents seizing, while threadlocker prevents them from vibrating loose.
Align the holder with the eyelets, insert the bolts by hand, and turn them clockwise to ensure they thread smoothly. Once both bolts are started, use your hex key to tighten them gradually, alternating between the bolts to ensure the holder sits evenly.
If you are working with a carbon fiber frame, use a torque wrench. Refer to your bicycle manufacturer’s manual for the exact torque specifications, which are typically between 2 and 4 Newton-meters (Nm). Overtightening can crack carbon tubes or strip the threaded inserts.
Once installed, perform a fit verification. Insert your bottle and shake the bike vigorously; there should be no rattling or play. Inspect the clearance to ensure the bottle does not rub against the frame, which can wear away paint. Finally, practice removing and inserting the bottle while stationary to confirm smooth access.

Community discussion
Share your experience or ask a question. Comments are reviewed before publication.